Documentation Index
Fetch the complete documentation index at: https://spreesuite.mintlify.app/llms.txt
Use this file to discover all available pages before exploring further.
What is metered billing?
Metered billing = billing based on meter readings, not a fixed price. Flow in short:- Meters are created.
- Meters are assigned to connections.
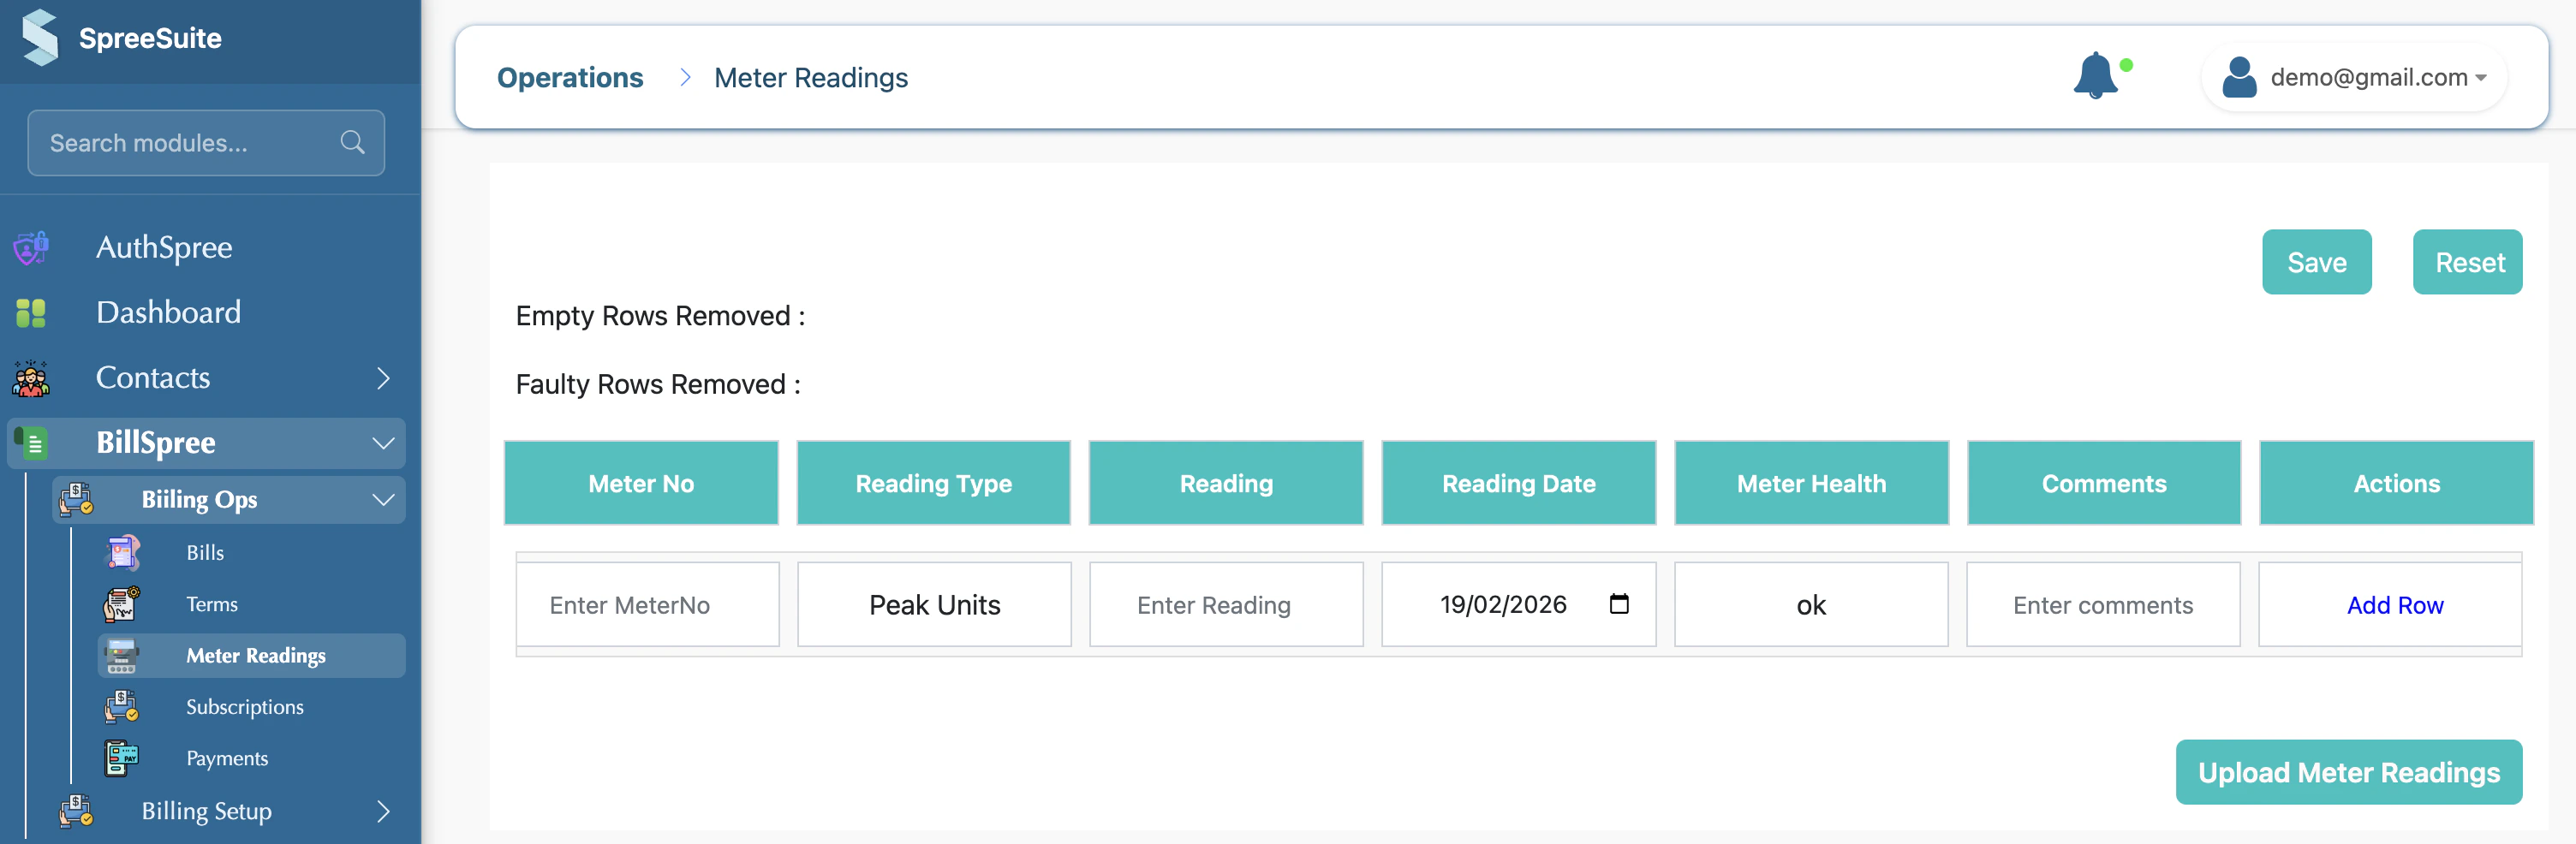
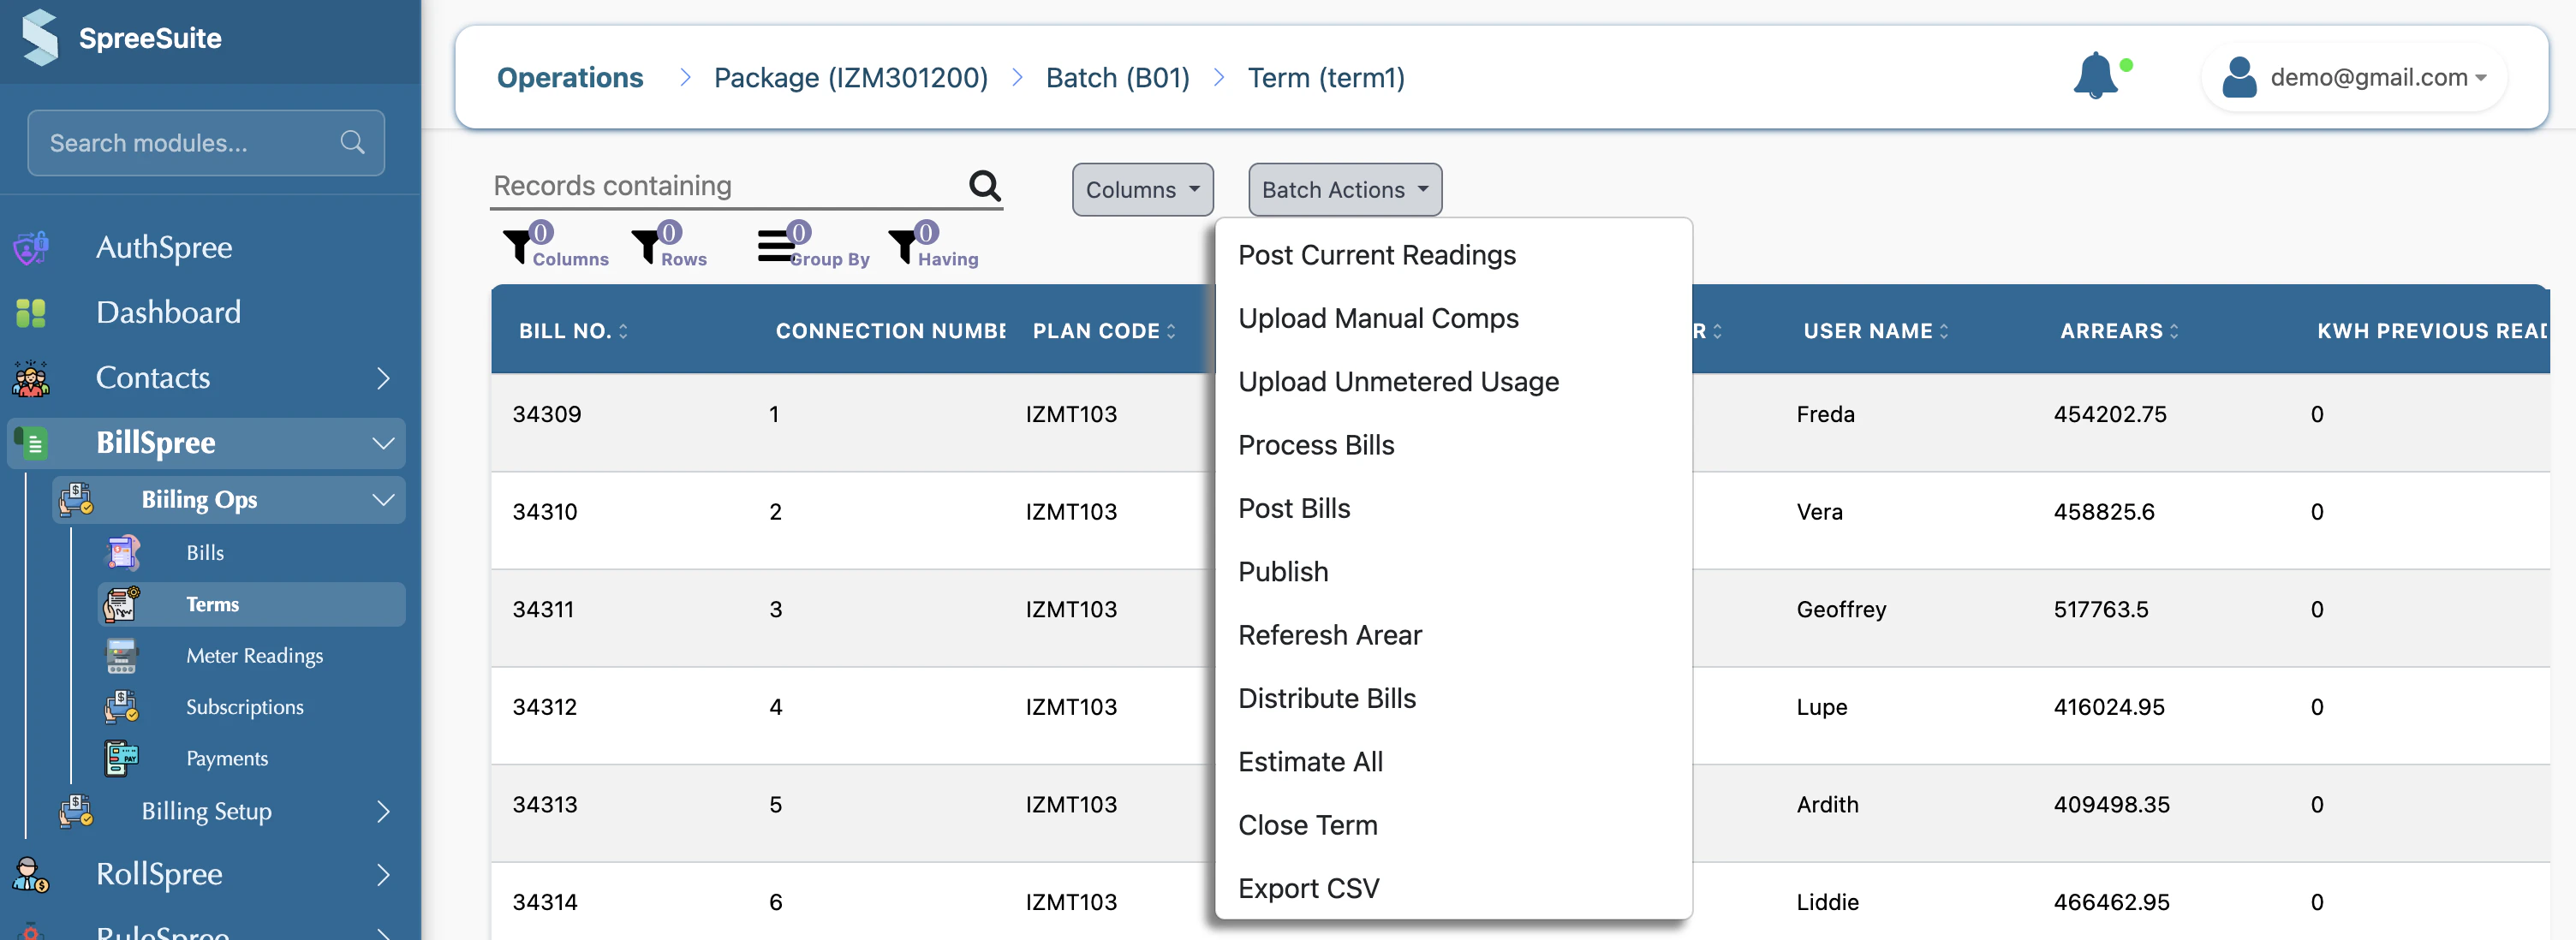
- Readings are entered (e.g., Post Meter Readings – billspree/terms/post-meter-readings, or Update Meter Readings – billspree/meters/update-meter-readings).
- Billing uses those readings (and the plan’s rate card and charging rules) to compute usage and amount (e.g., Estimate Metered Parameters – billspree/terms/estimate-metered-params).
- Bills are created/processed for the term; the active meter on each connection is what’s used for that connection’s metered part.
What is a meter?
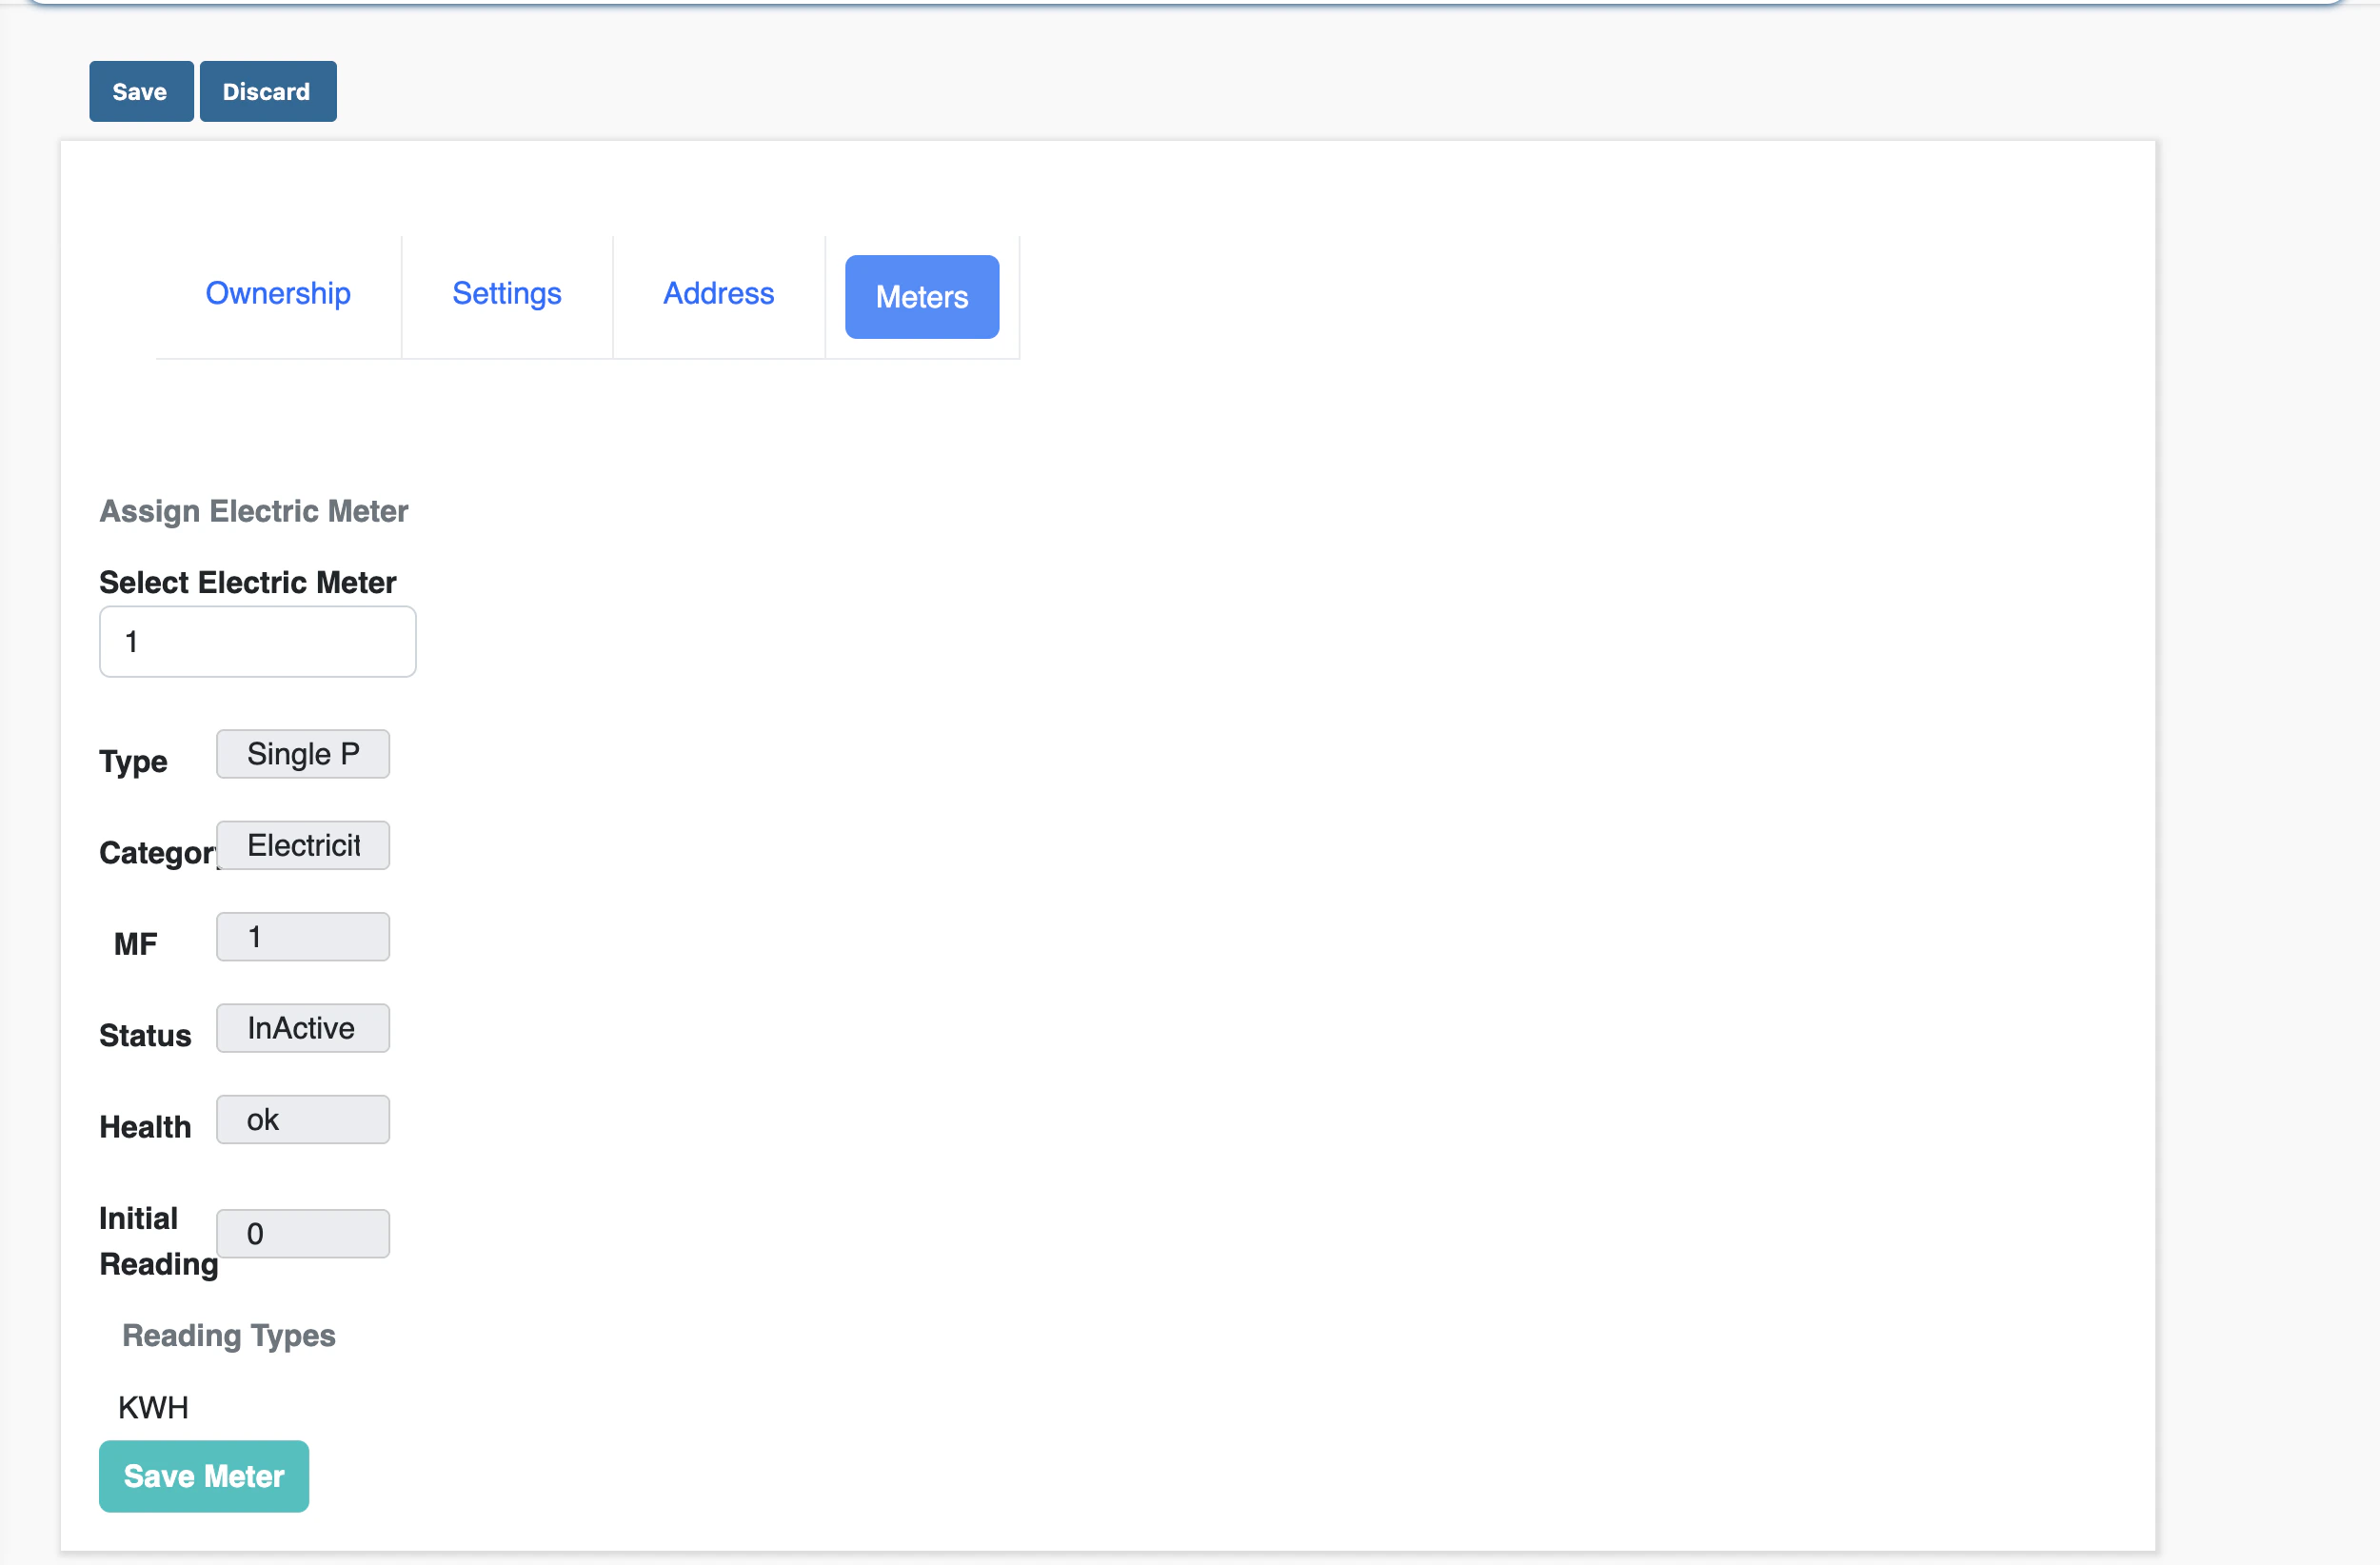
A meter is a record of a physical device (electricity, gas, or water) that measures how much a customer uses.- Meter number – unique ID
- Brand – manufacturer
- Type – e.g., Electric (KWH), Gas (M³), Water (M³)
- Purchase date
- MF – multiplication factor used in billing
Why do we use meters?
- Metered billing – bill customers based on actual usage (readings from the meter), not a flat amount.
- Tracking – know which meter is on which connection and what was thier current readings and previous reading.
- History – We have a previous reading.
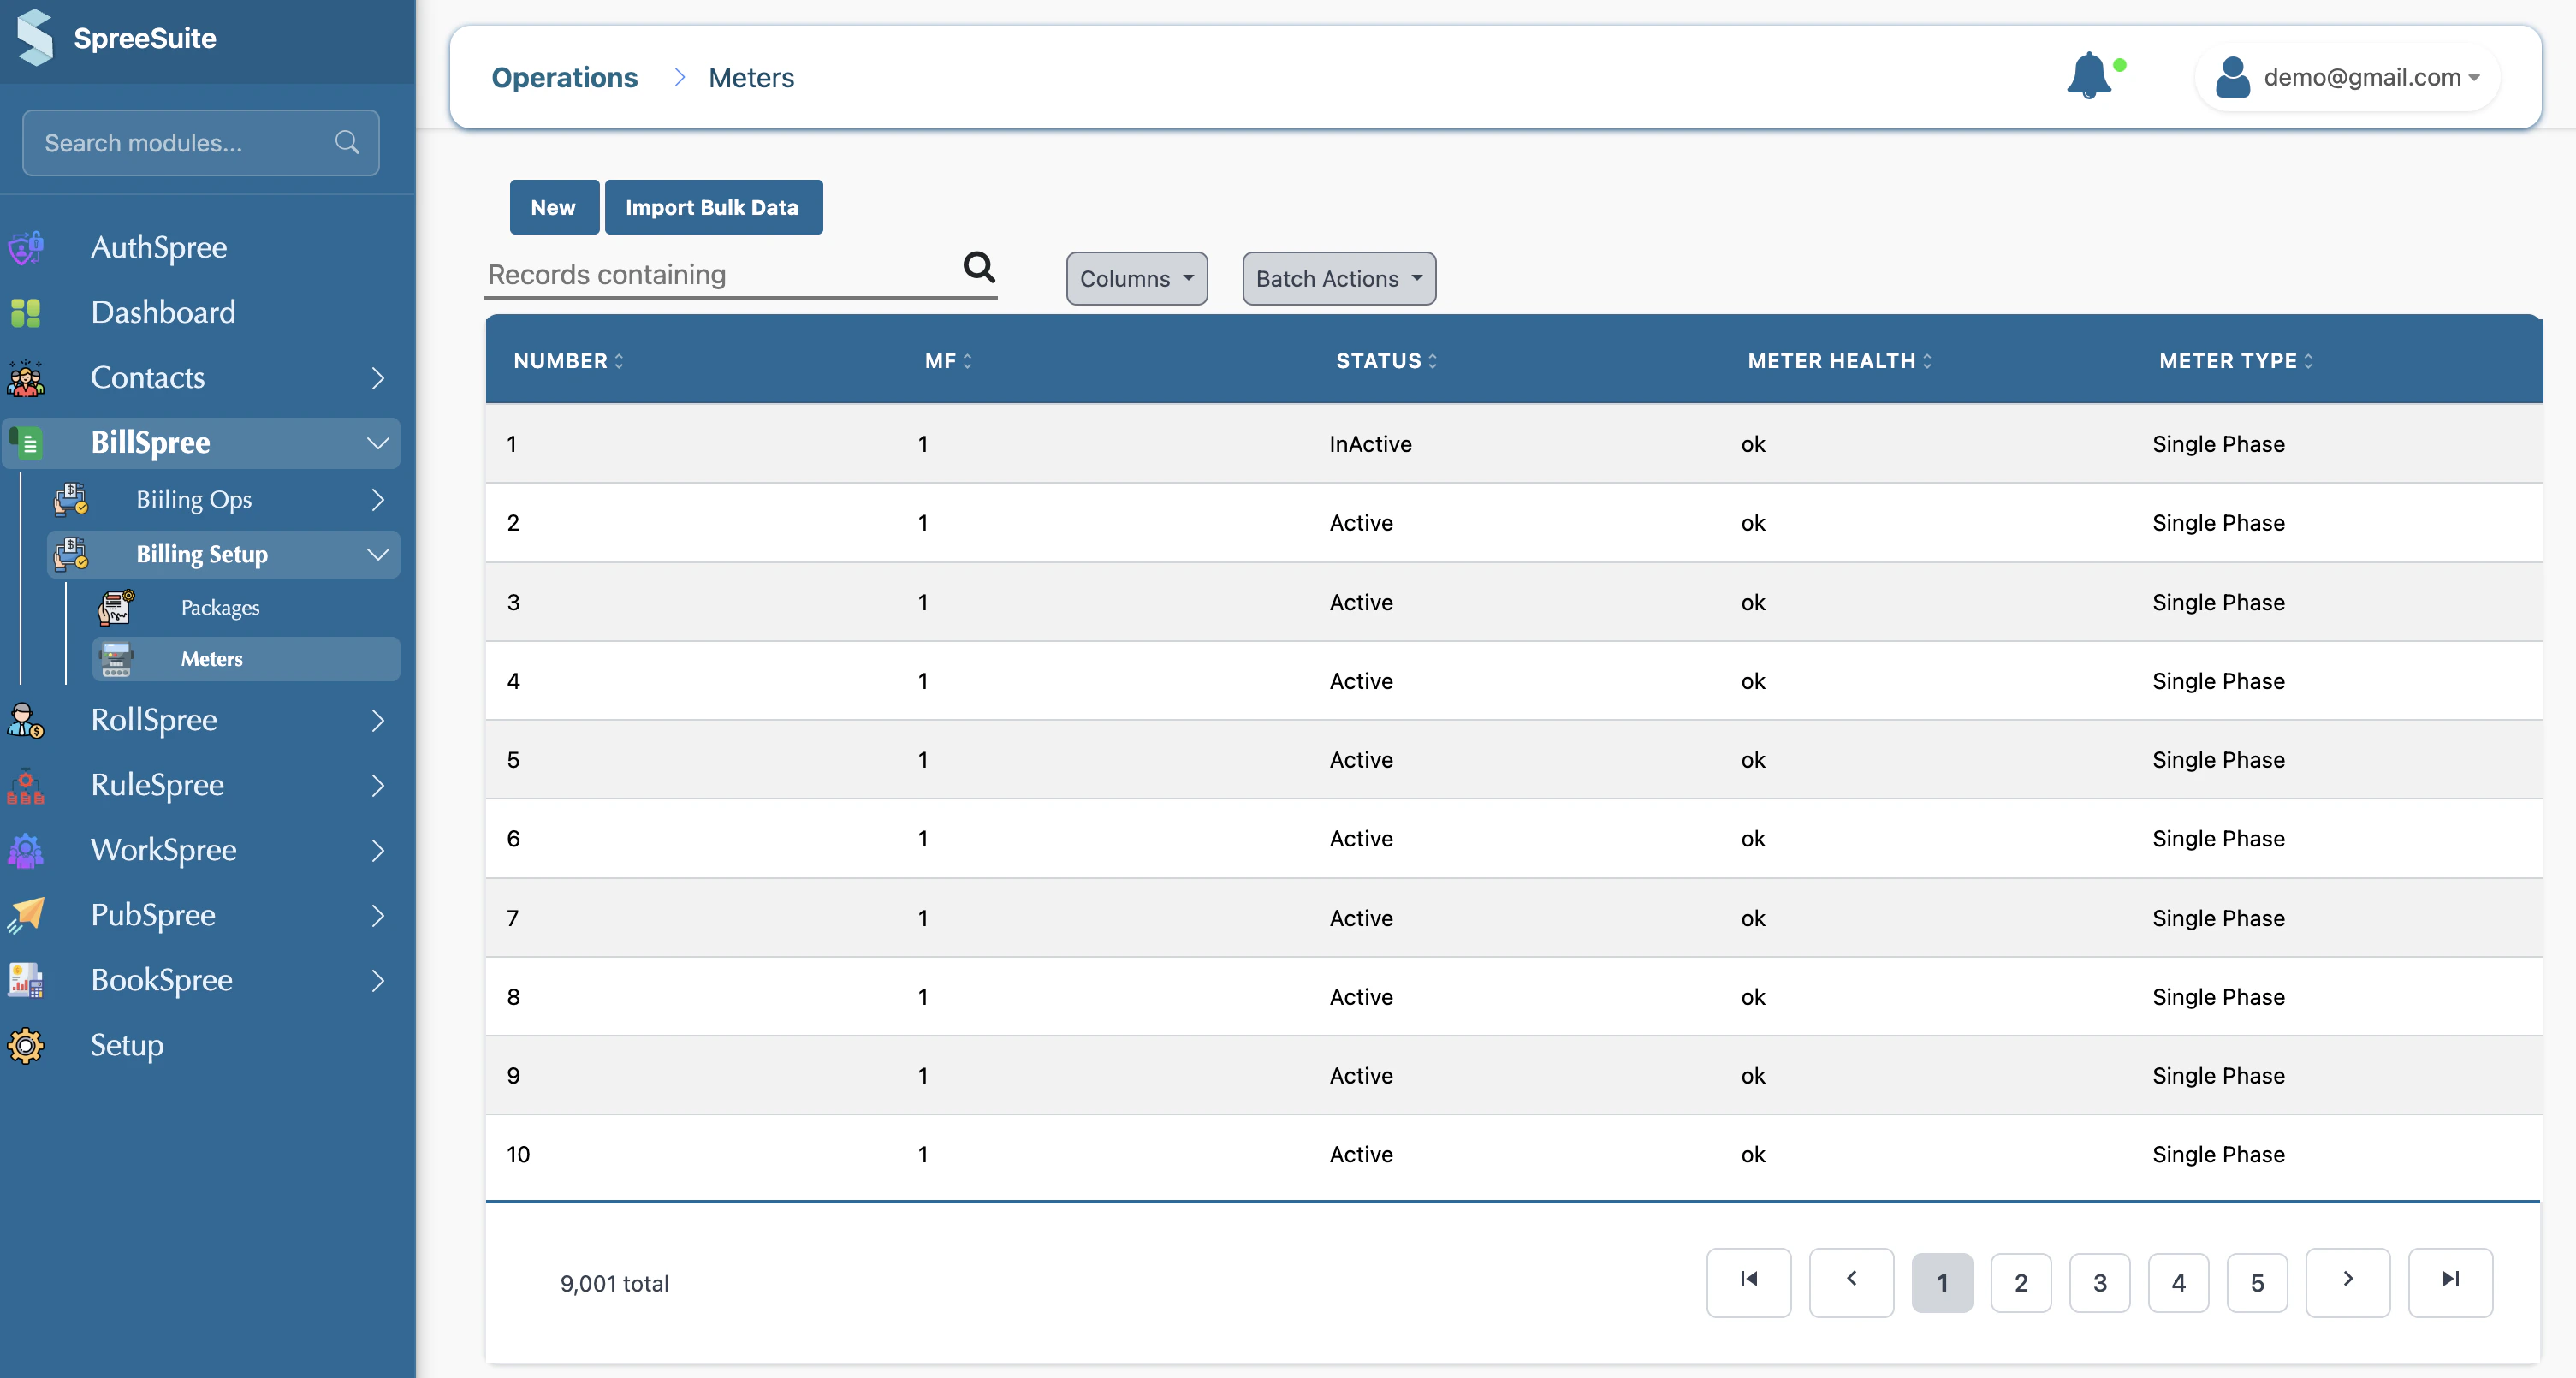
How do we create a meter?
1- Go to Billspree → Billing Setup


Where do we assign meters?
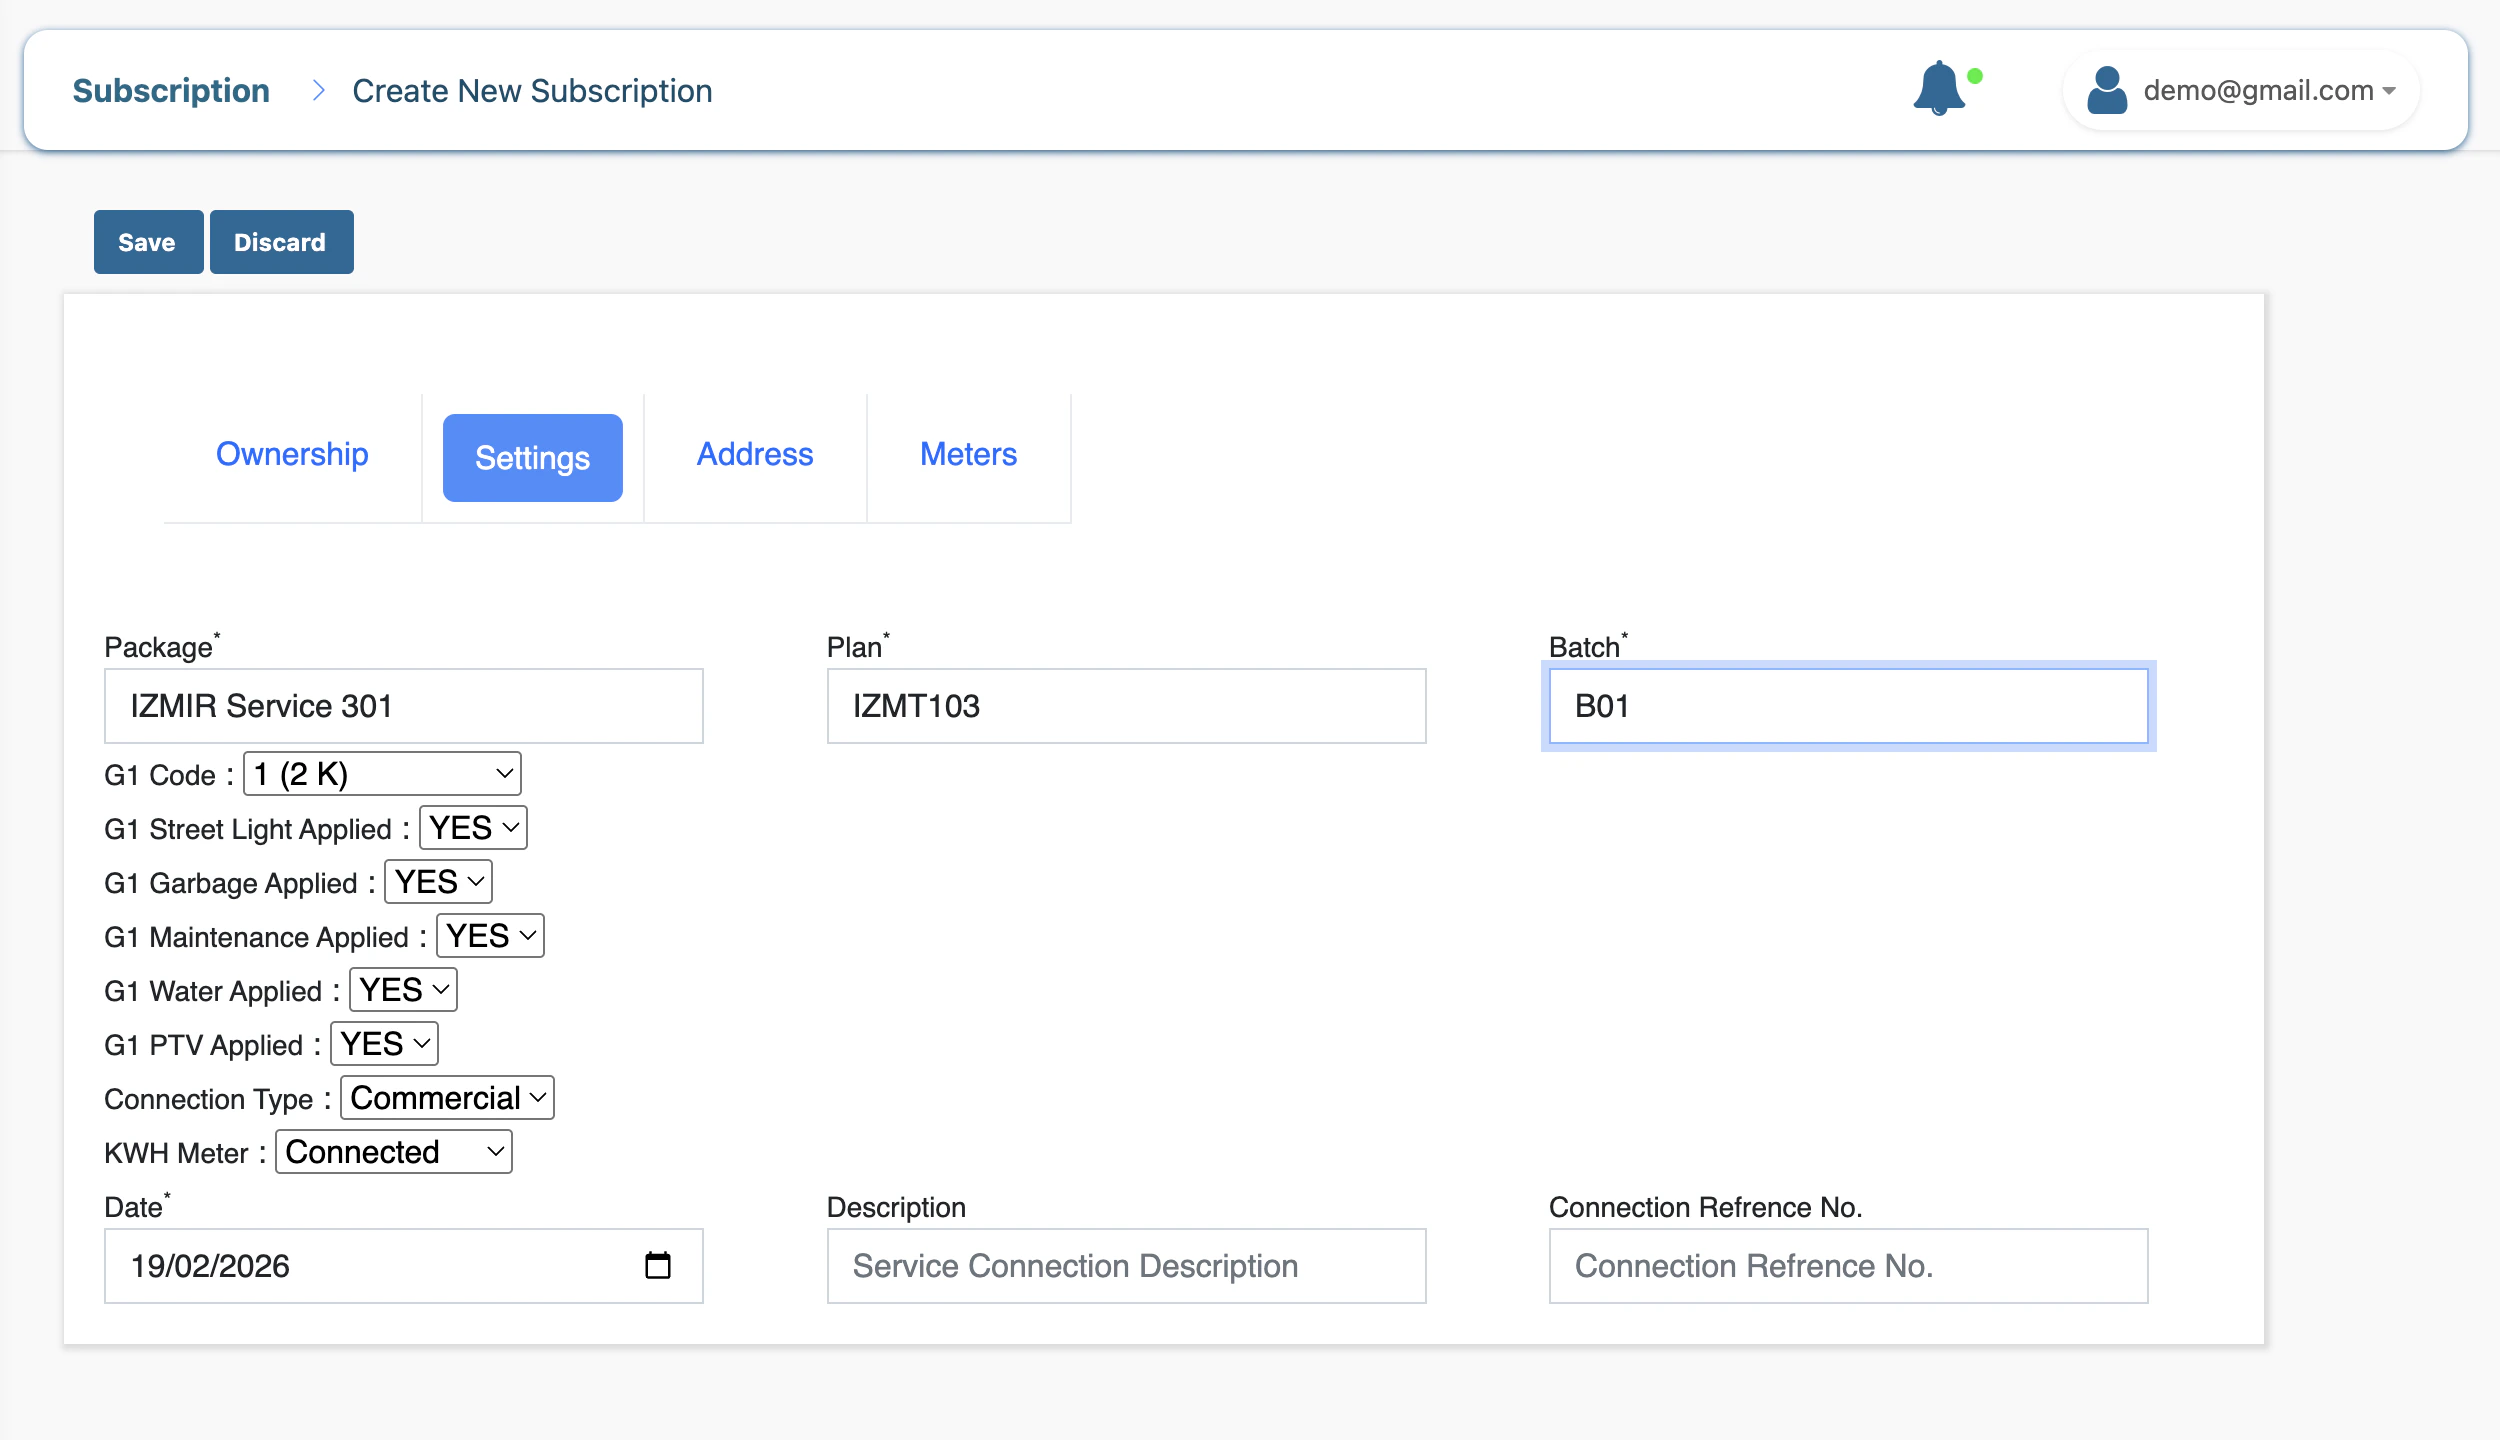
1- Go on Subscription screen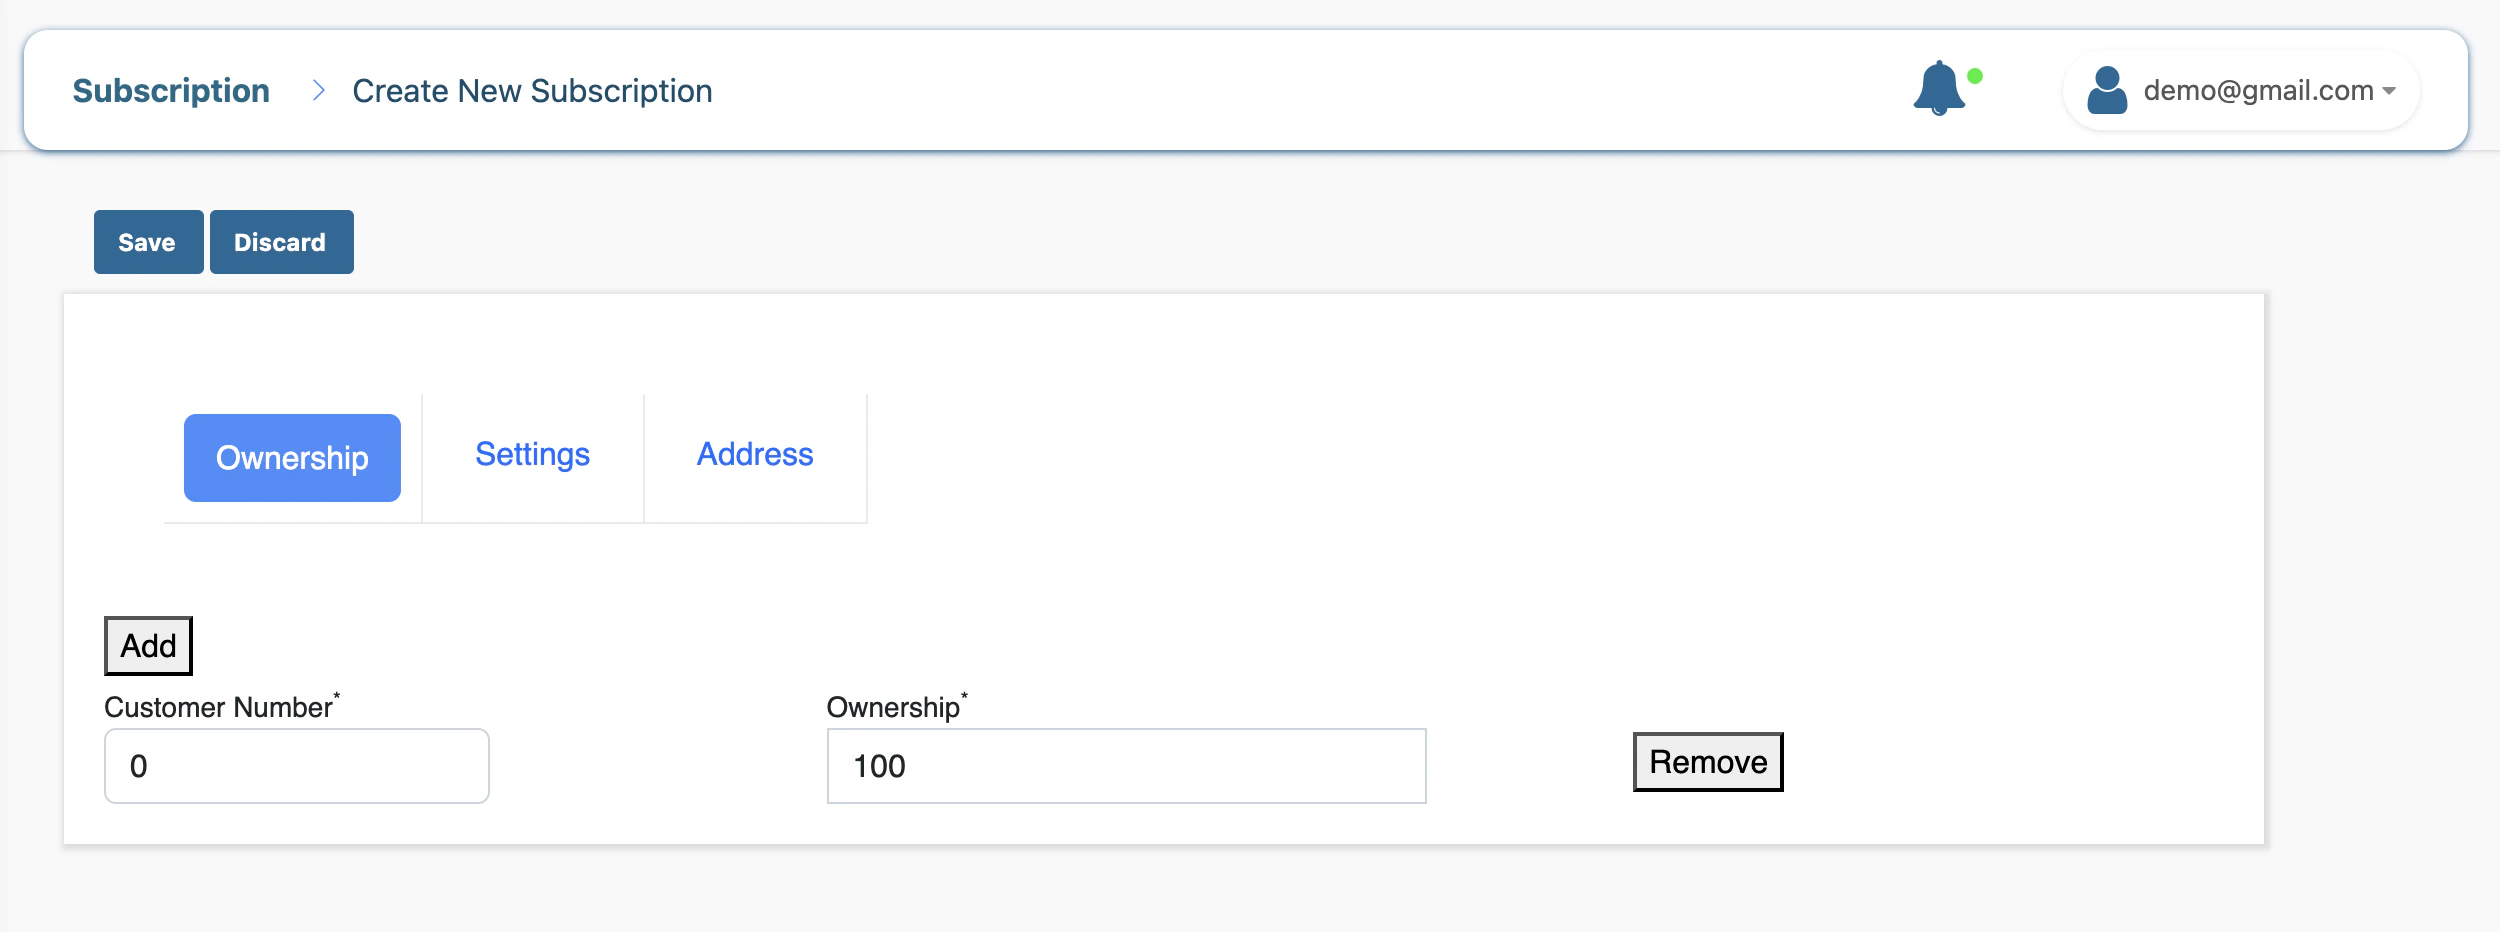
- New connection
- Existing connection
- API: POST billspree/meters/make-connection-meter
- Body: connection id, meter number, connection date, status.
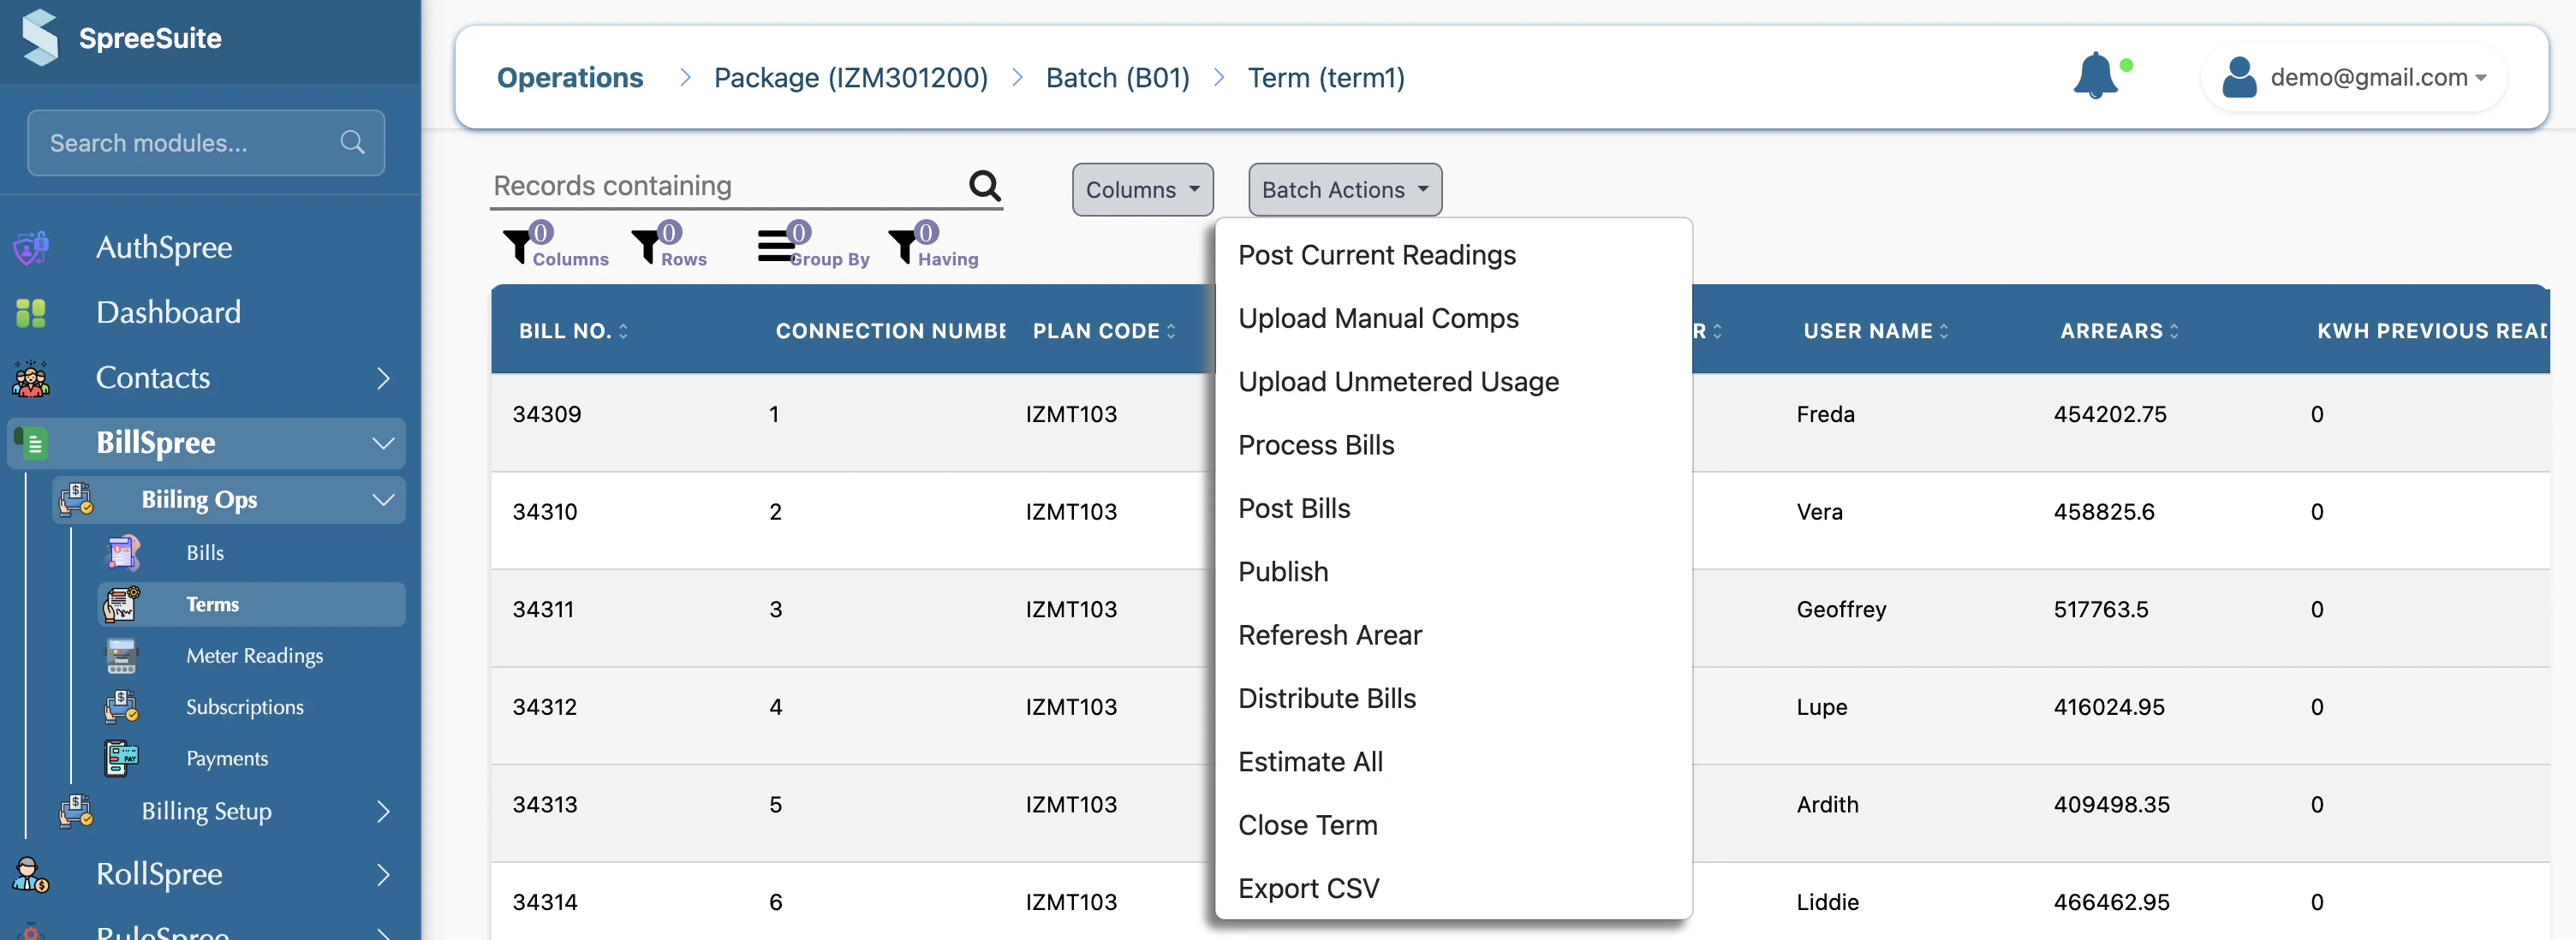
Active or Inactive meters
1- Active meter Currently linked to a connection and used for billing. Shown under “Active Meter Details” on the connection. 2- Inactive meter Either not assigned to any connection (status InActive in the meter list)What is Unmetered Billing
Unmetered billing means you charge the customer based on something you enter or choose, like coming from another system or uploading any file, not from a physical meter that measures actual use. 1- Unmetered (no meter reading)- There is no meter reading used for the bill.
- You charge using other inputs, for example: