> ## Documentation Index
> Fetch the complete documentation index at: https://docs.techfootintl.com/llms.txt
> Use this file to discover all available pages before exploring further.
# Particulars
> Learn how to manage custom fields and attributes for your contacts in BillSpree.
**Particulars** in BillSpree are custom attributes or additional information fields that you can associate with different types of people in your system, such as Employees or Customers. They allow you to tailor the information you track beyond the standard system fields.
***
## **List View Particulars**
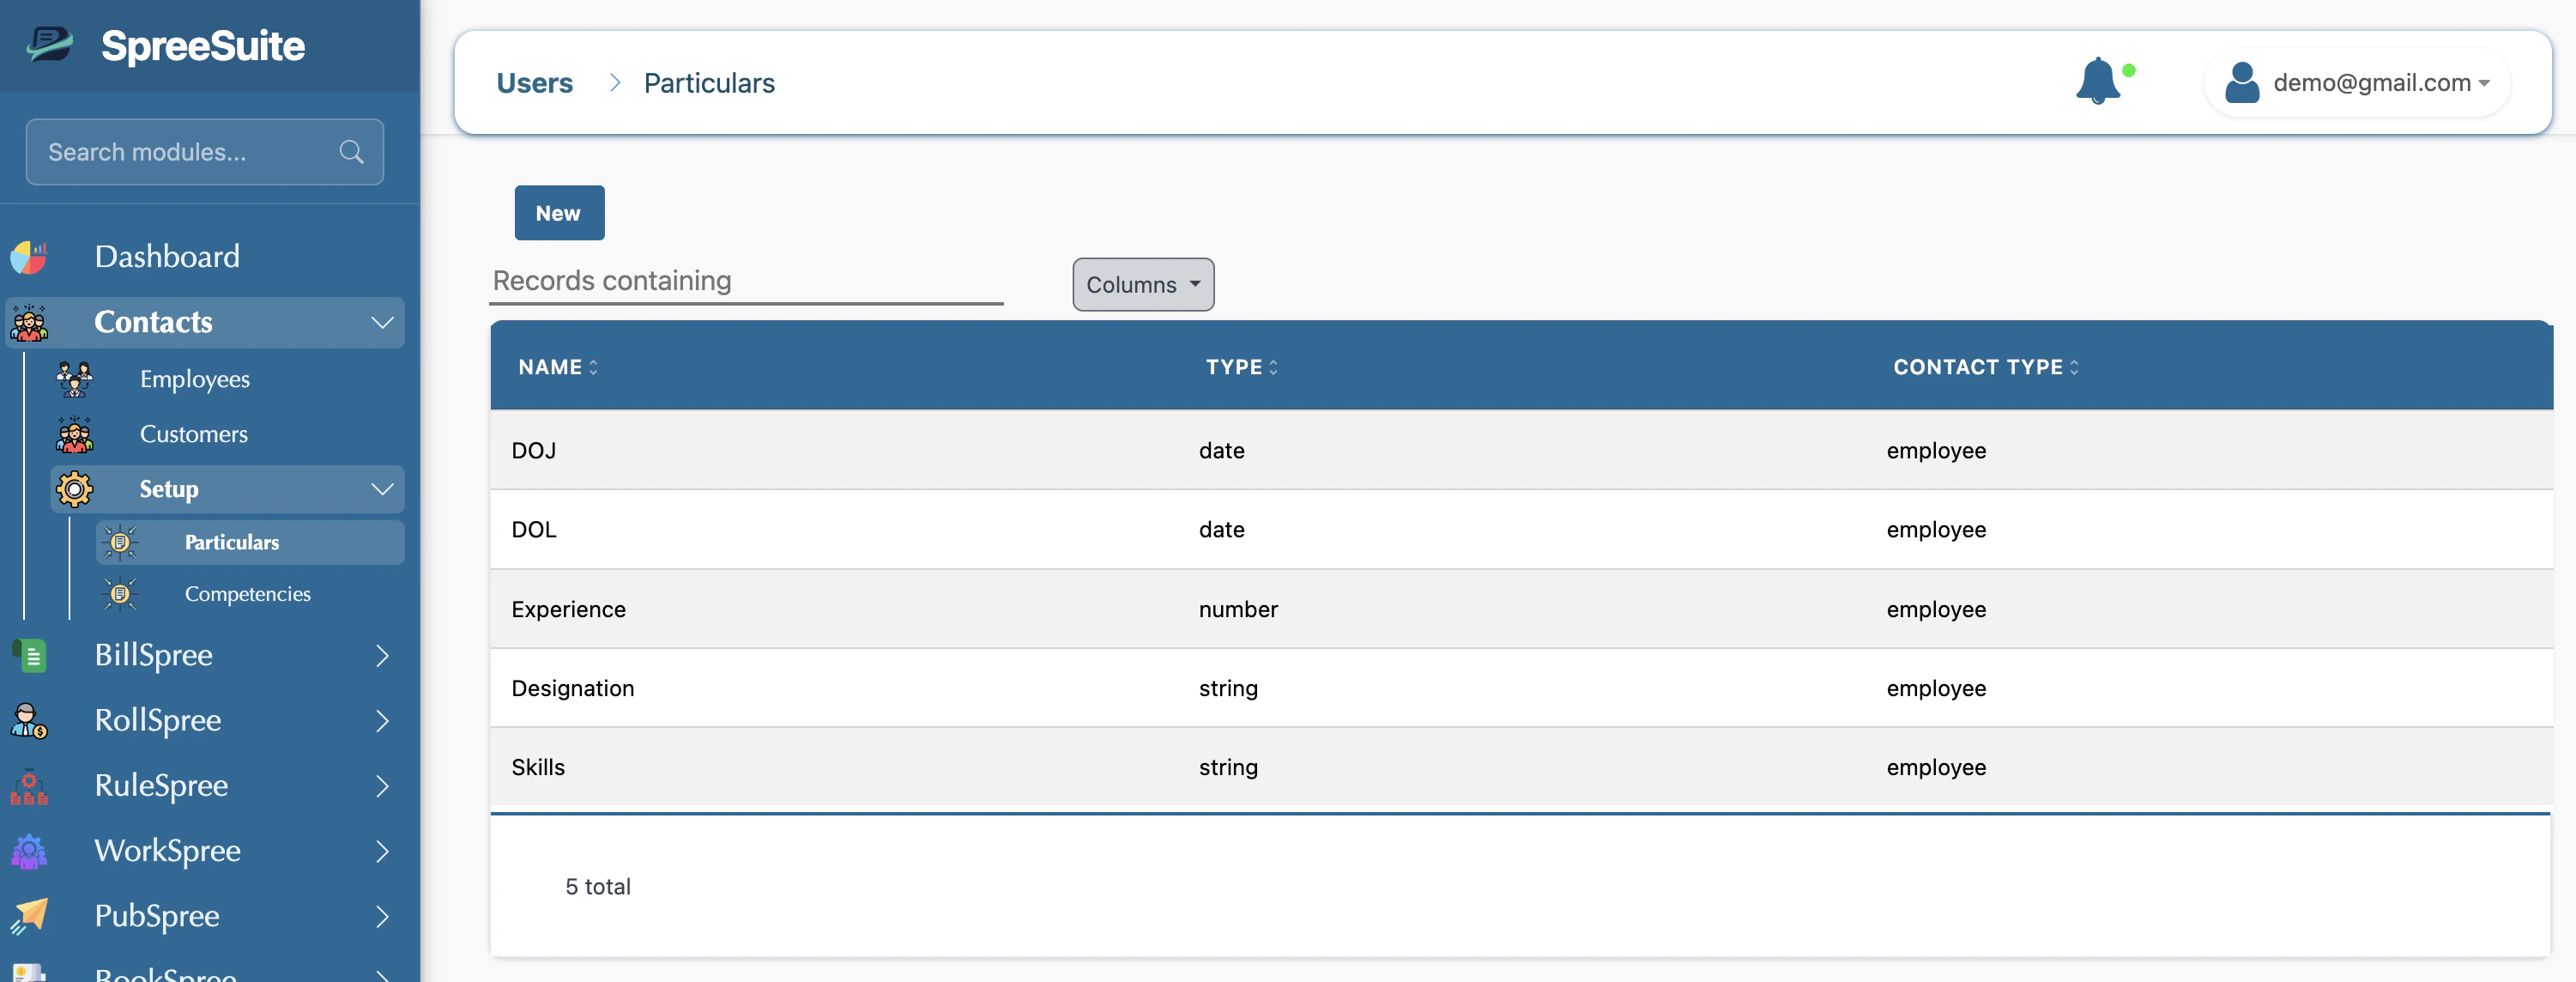
The Particulars page provides a central list of all custom attributes defined in your workspace.
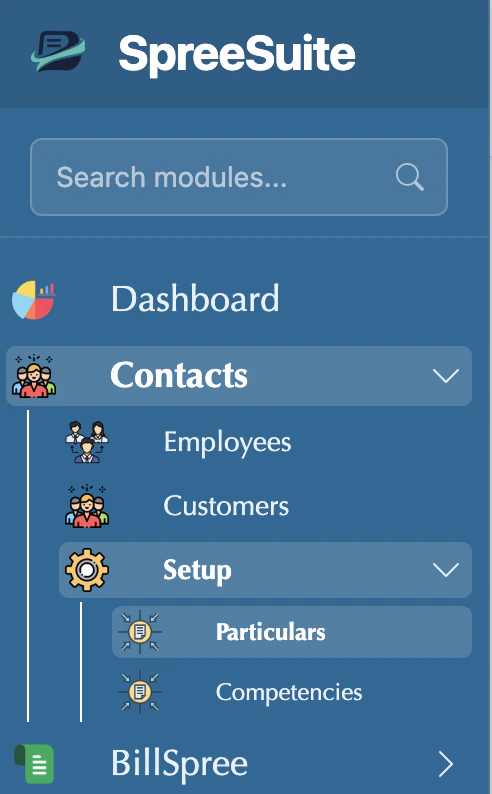
### 1. Navigate to Particulars
 ### **2. View All Particulars**
The list view shows you:
* **Name**: The label of the custom field (e.g., "Joining Date").
* **Type**: The kind of information it stores (Text, Number, or Date).
* **Contact Type**: Which group this field belongs to (Employee or Customer).
### **2. View All Particulars**
The list view shows you:
* **Name**: The label of the custom field (e.g., "Joining Date").
* **Type**: The kind of information it stores (Text, Number, or Date).
* **Contact Type**: Which group this field belongs to (Employee or Customer).
 ***
## **Add New Particulars**
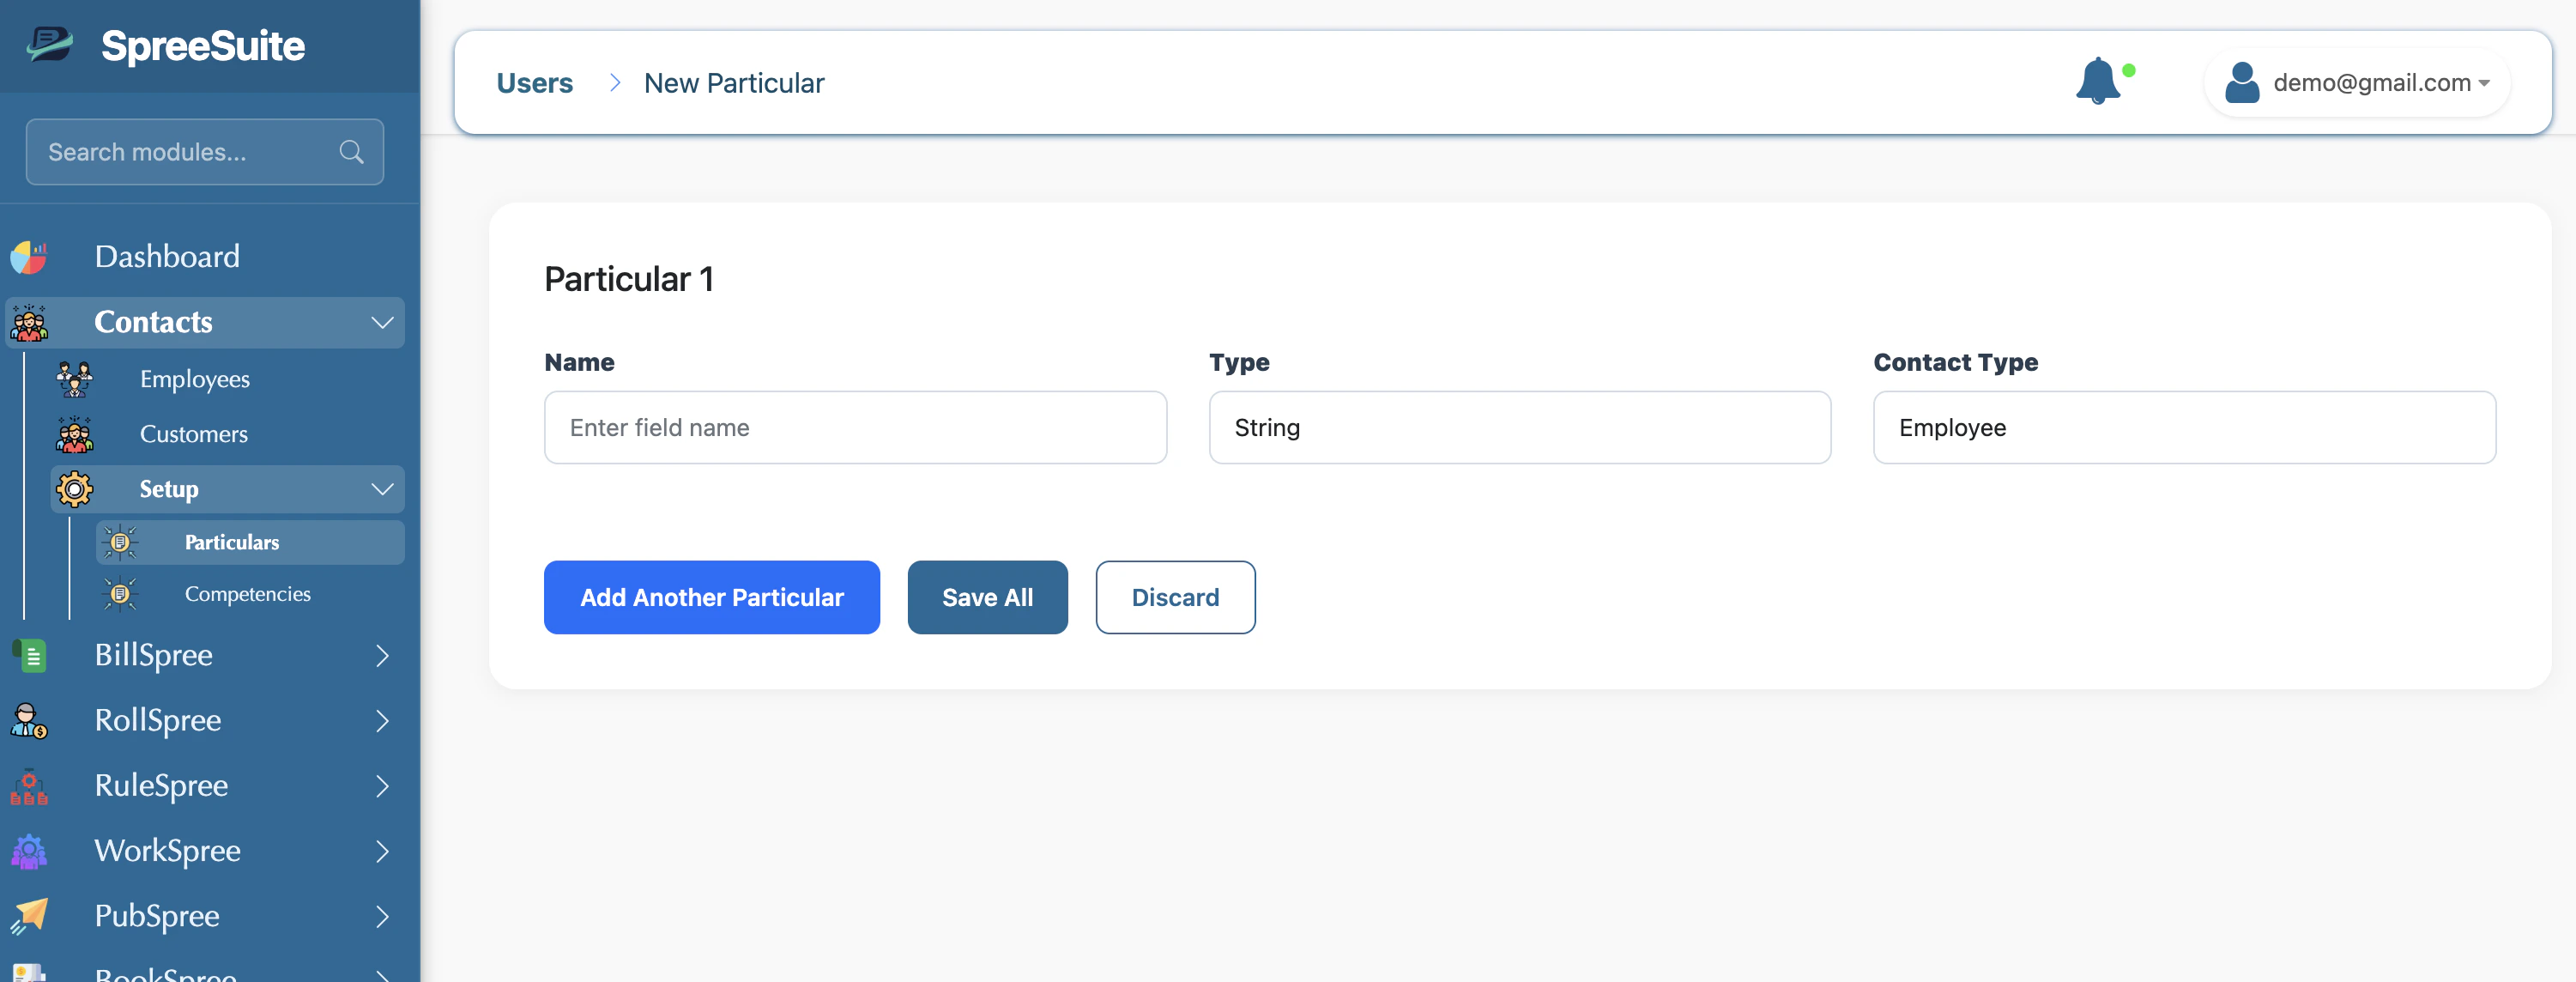
Adding particulars allows you to expand the data profile of your staff or clients. You can add multiple custom fields in a single session.
Navigate to **Users** → **Particulars** and click the **+ New** button.
Enter a clear name for the information you want to track.
* **Name**: For example, "Emergency Contact Number" or "Contract Expiry" (Required).
Choose the format for this information:
* **String**: For general text (names, notes).
* **Number**: For digits only (years, counts).
* **Date**: For specific calendar dates.
Decide who this field belongs to:
* **Employee**: Shown on staff profiles.
* **Customer**: Shown on client records.
Click **Add Another Particular** to define multiple fields at once.
Once you have defined all your fields, click **Save All**. These fields will now be available when editing or viewing contact profiles.
***
## **Add New Particulars**
Adding particulars allows you to expand the data profile of your staff or clients. You can add multiple custom fields in a single session.
Navigate to **Users** → **Particulars** and click the **+ New** button.
Enter a clear name for the information you want to track.
* **Name**: For example, "Emergency Contact Number" or "Contract Expiry" (Required).
Choose the format for this information:
* **String**: For general text (names, notes).
* **Number**: For digits only (years, counts).
* **Date**: For specific calendar dates.
Decide who this field belongs to:
* **Employee**: Shown on staff profiles.
* **Customer**: Shown on client records.
Click **Add Another Particular** to define multiple fields at once.
Once you have defined all your fields, click **Save All**. These fields will now be available when editing or viewing contact profiles.
 ***
## **Detailed Field Guide**
| Field | Meaning in simple words | Requirement |
| :--------------- | :-------------------------------------------- | :---------- |
| **Name** | The label for the custom field. | Required |
| **Type** | The format (Text, Number, or Date). | Required |
| **Contact Type** | Whether it applies to Employees or Customers. | Required |
***
## **Where do Particulars show up?**
Once created, Particulars are integrated into the profile management sections:
* **Employee Profiles**: Custom staff attributes appear in the detailed view of an employee.
* **Customer Management**: Tailored fields show up when managing client relationships.
***
## **Detailed Field Guide**
| Field | Meaning in simple words | Requirement |
| :--------------- | :-------------------------------------------- | :---------- |
| **Name** | The label for the custom field. | Required |
| **Type** | The format (Text, Number, or Date). | Required |
| **Contact Type** | Whether it applies to Employees or Customers. | Required |
***
## **Where do Particulars show up?**
Once created, Particulars are integrated into the profile management sections:
* **Employee Profiles**: Custom staff attributes appear in the detailed view of an employee.
* **Customer Management**: Tailored fields show up when managing client relationships.