> ## Documentation Index
> Fetch the complete documentation index at: https://docs.techfootintl.com/llms.txt
> Use this file to discover all available pages before exploring further.
# Employees
> Learn how to manage your staff and system users in BillSpree.
An **Employee** in BillSpree is a person who works for your organization and has a user account in the system. They represent your staff and internal users, distinct from your customers. Managing employee profiles ensures proper access control and resource allocation across the platform.
***
## **List View Employees**
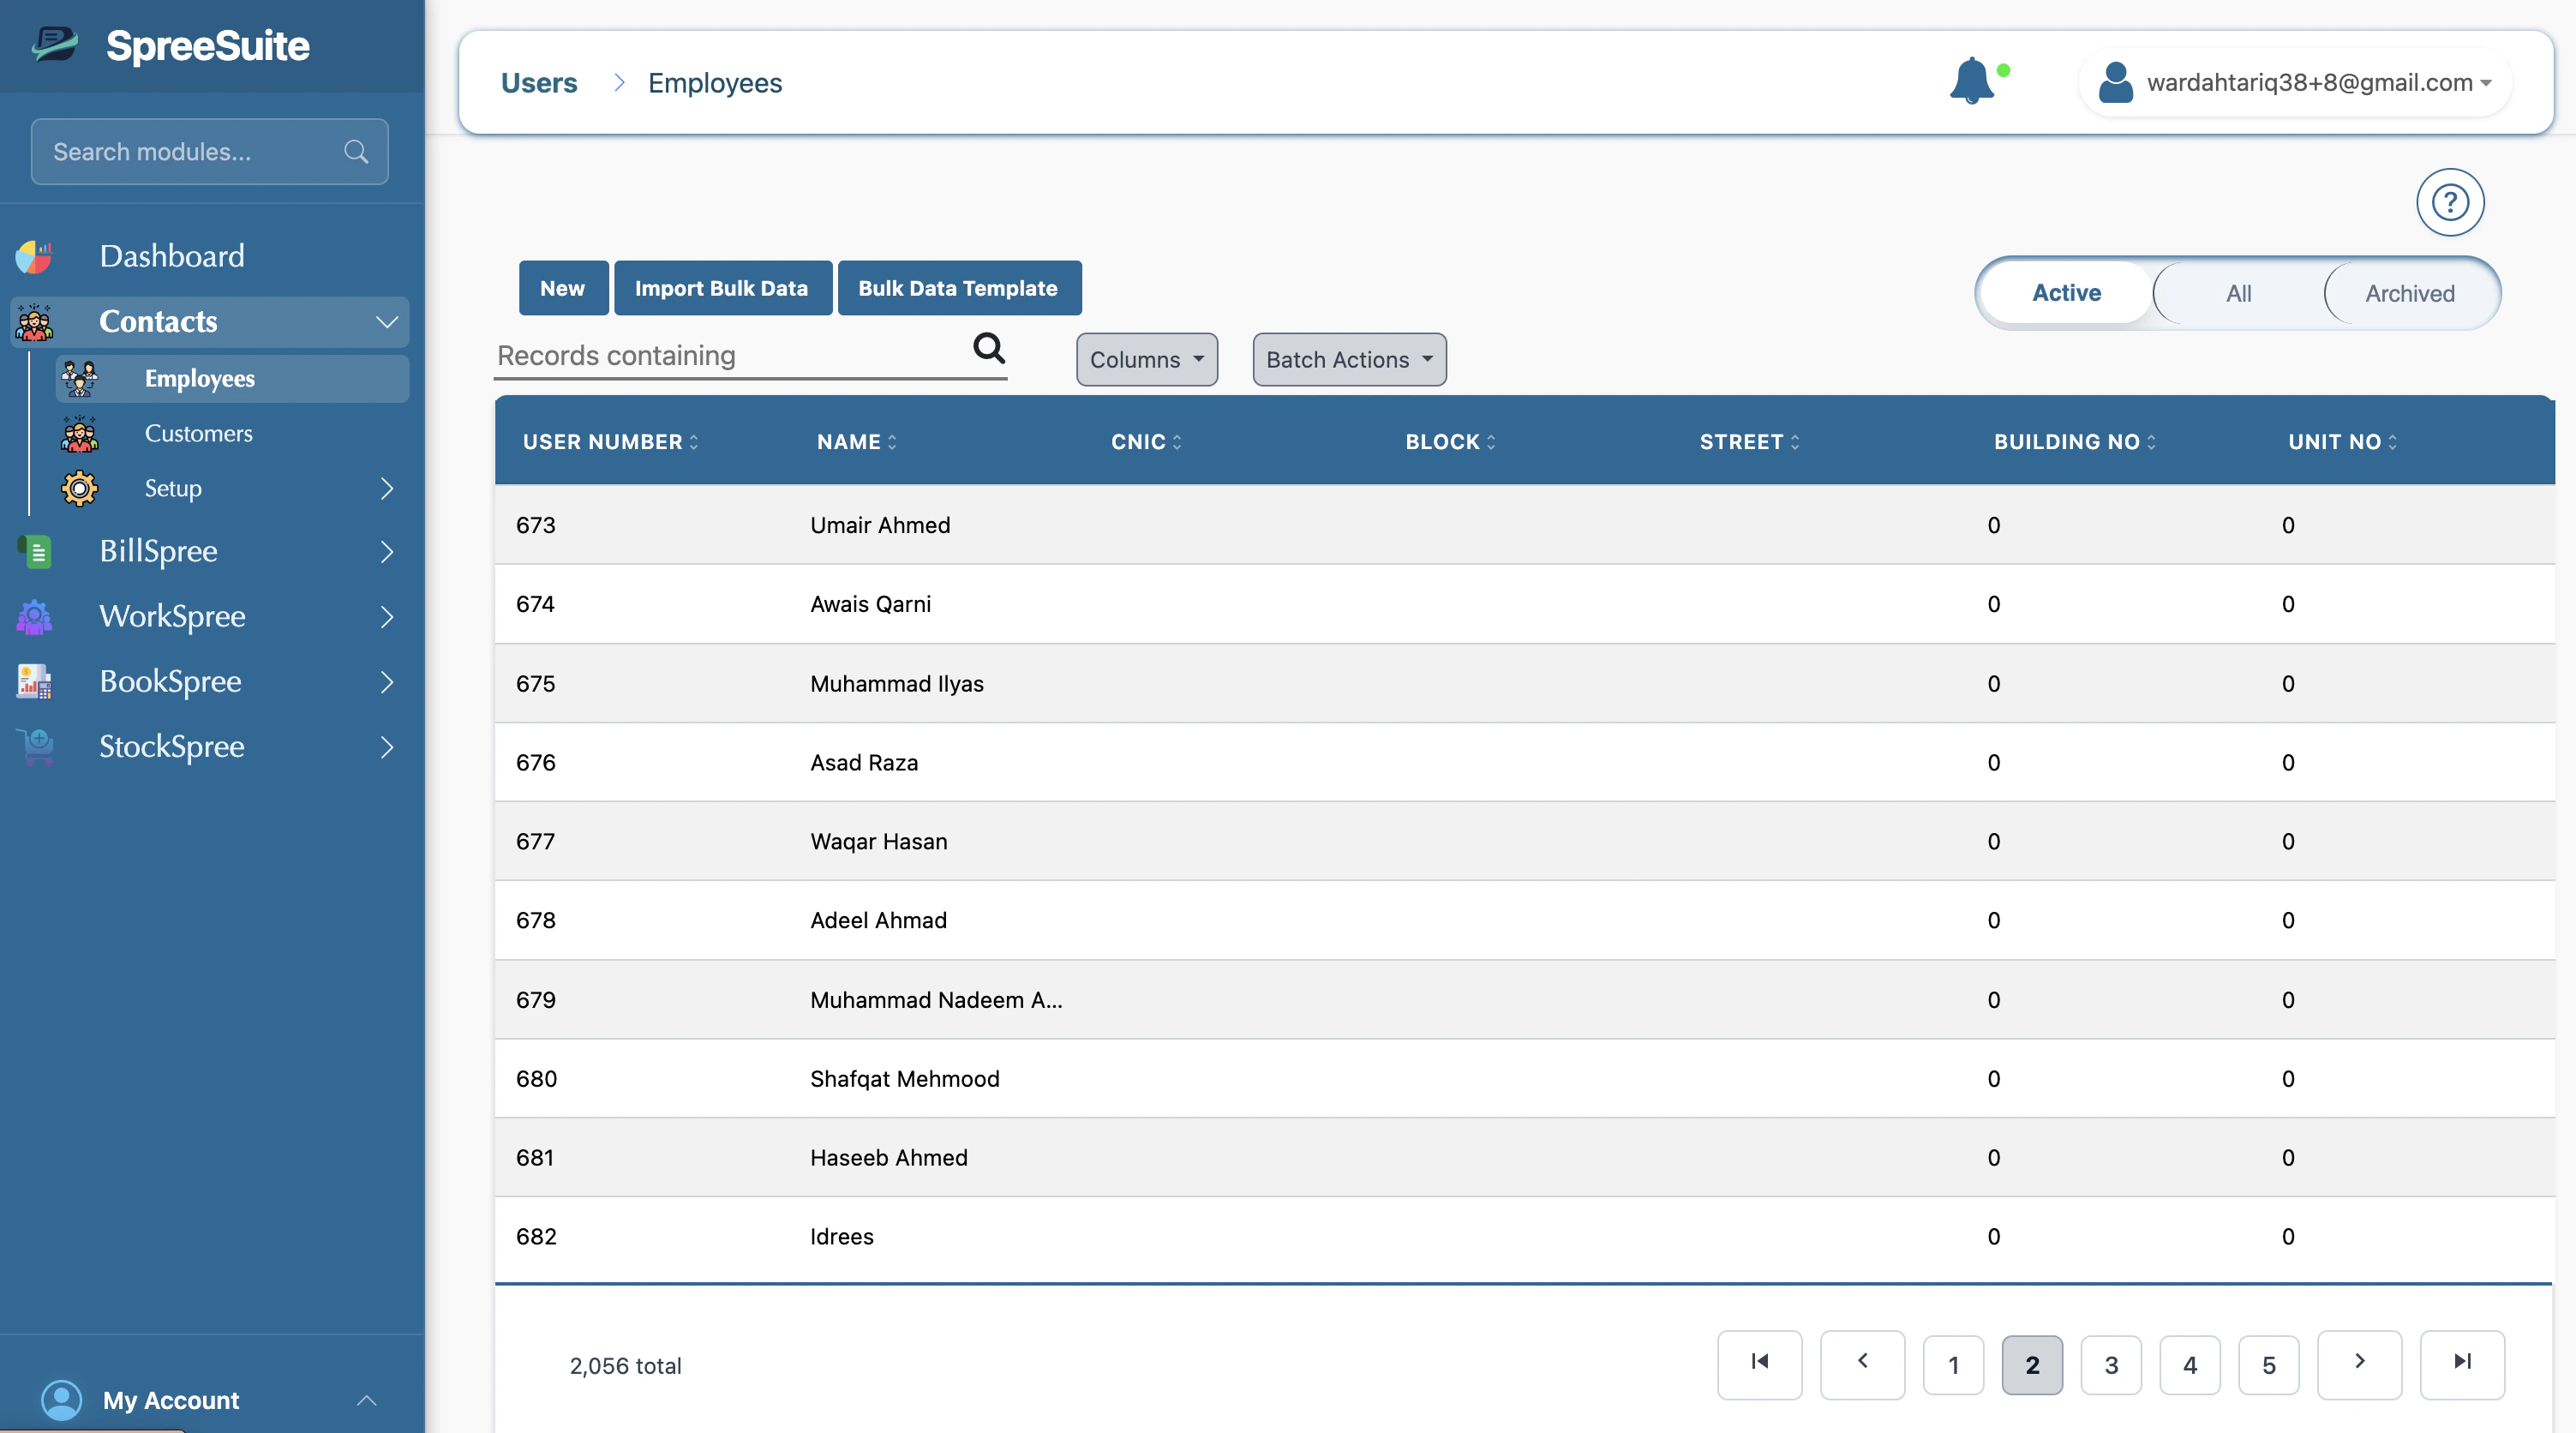
Managing employees is a straightforward process. You can view all staff members in a list or grid format and filter them based on their current status (e.g., only "active").
 ### **1. Navigate to Employees**
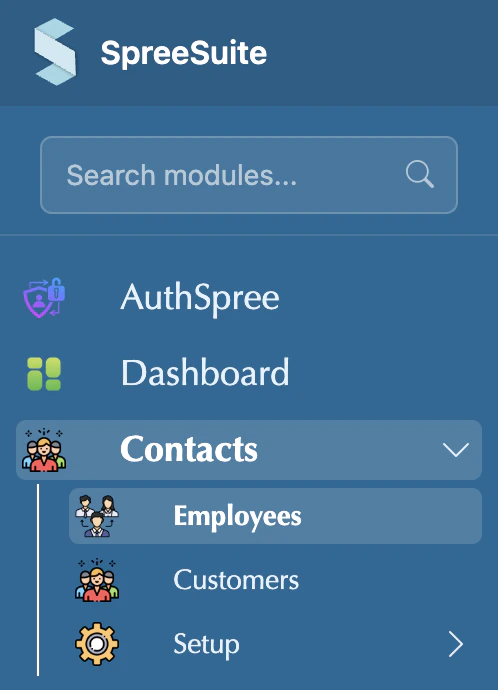
To access your employee list, navigate to **Users** → **Employees** in the main menu. This page provides a high-level overview of all staff members registered in your system.
### **1. Navigate to Employees**
To access your employee list, navigate to **Users** → **Employees** in the main menu. This page provides a high-level overview of all staff members registered in your system.
 ### **2. Add a New Employee**
To add a new employee, follow these steps:
Click the **+ New** button (or "Add new") usually located in the top right corner of the Employees page.
### **2. Add a New Employee**
To add a new employee, follow these steps:
Click the **+ New** button (or "Add new") usually located in the top right corner of the Employees page.
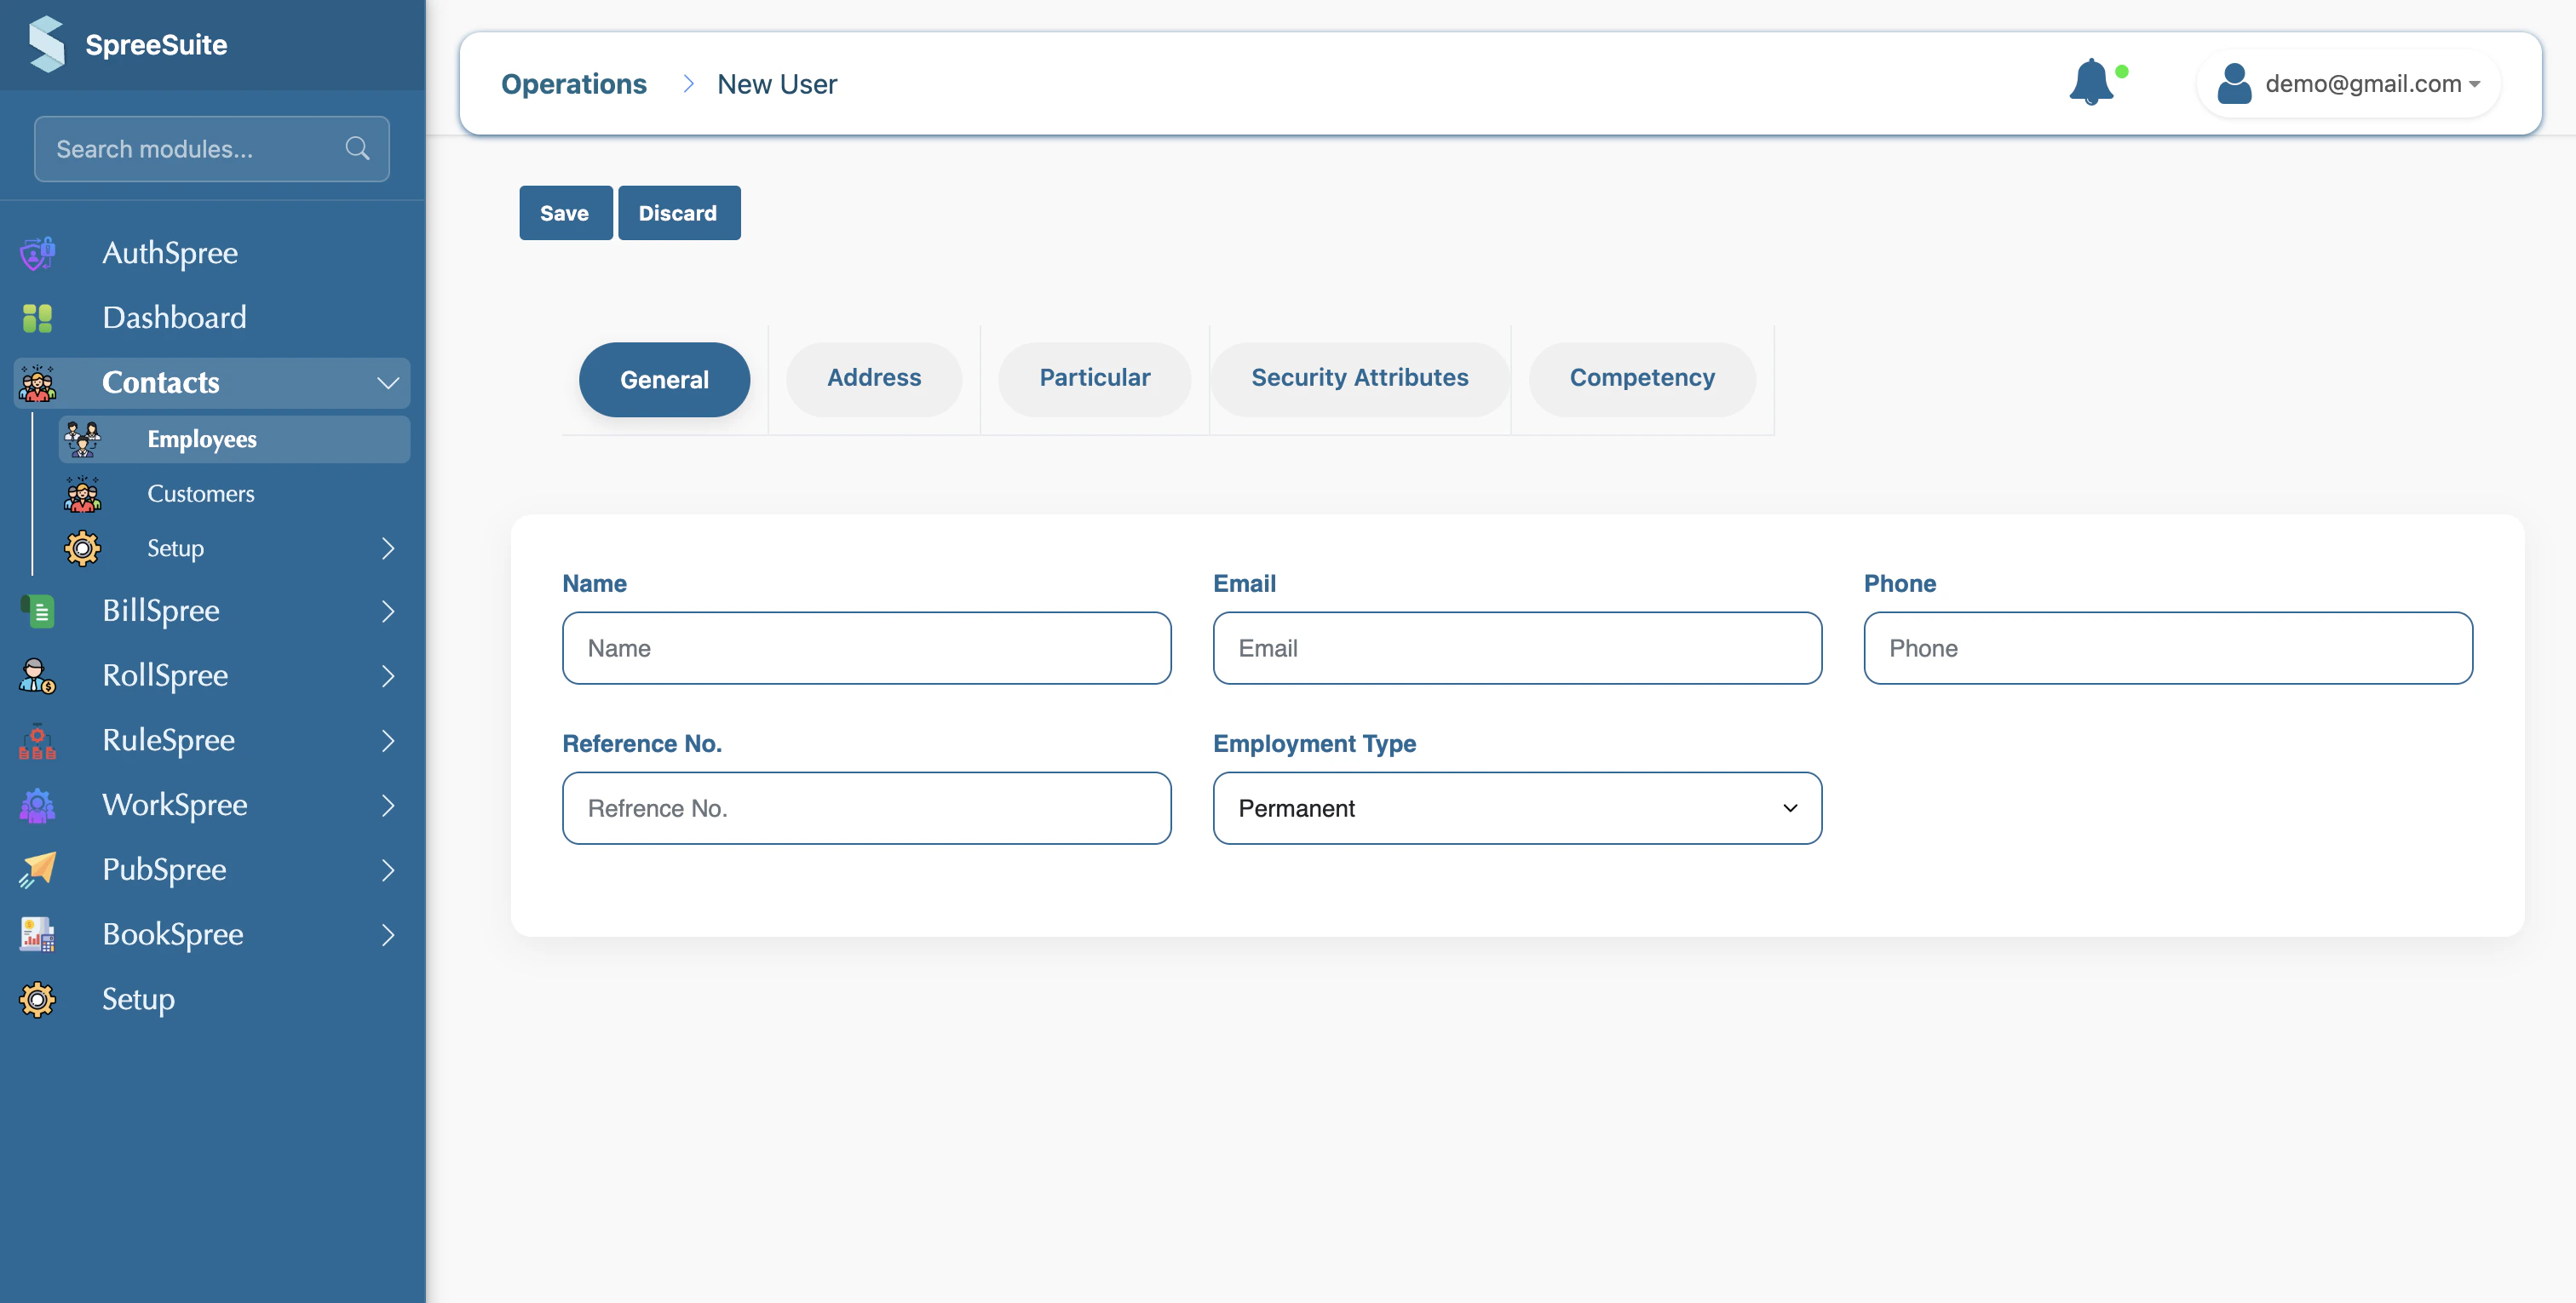 Fill in the basic contact details for the employee.
* **Name**: The full name of the person (Required).
* **Email**: Their professional email address, often used for system login.
* **Phone**: A contact number for the employee.
* **Employee Number**: A unique internal ID for the person in the system.
Define the employee's position and access level.
* **Role**: Their job role or type of access in the app.
* **Status**: Whether they are active or not (e.g., still with the company).
* **Address**: Detailed location information if used (Building, street, city, etc.).
Once all details are filled, click the **Save** button. The employee will now appear in your list and can be assigned to projects.
***
## **Detailed Field Guide**
### **1. Professional Profile**
| Field | Meaning in simple words | Requirement |
| :------------------ | :------------------------------------------- | :---------- |
| **Name** | Full name of the individual. | Required |
| **Email** | Their email (often used to log in). | Required |
| **Employee Number** | A unique ID for that person in the system. | Required |
| **Phone** | Primary contact number. | Optional |
| **Role** | Their job role or type of access in the app. | Required |
| **Status** | Active or Inactive status. | Required |
### **2. Advanced Information**
The application also stores additional attributes to help manage your workforce:
| Field | Description |
| :------------------- | :----------------------------------------------- |
| **Competencies** | Tracking specific skills and proficiency levels. |
| **Permissions** | Defining security/access rights within the app. |
| **Association Type** | Employment type (e.g., Permanent, Contract). |
***
## **Importing Employees in Bulk**
For large-scale onboarding, you can add many employees at once by uploading a data file. This process allows you to populate your entire staff list efficiently.
### **1. The Bulk Import Workflow**
Follow these steps to successfully import your employee data:
Ensure your data is organized in a supported format (like CSV). Include mandatory headers like Name, Email, and Employee Number.
Click the **Import** button on the Employees page and select your file to process the records.
You can also **export** the list (e.g., as a CSV) if you need to use the data outside the application.
***
## **Where do Employees show up?**
Employees are integrated throughout the BillSpree ecosystem to streamline operations:
* **Projects (Workspree)**: Assigning team members to specific projects and tasks.
* **Connections**: Linking employees to specific services or accounts where relevant.
Whether you see buttons like "New", "Import", or "Export" depends on your specific permissions in the app.
Fill in the basic contact details for the employee.
* **Name**: The full name of the person (Required).
* **Email**: Their professional email address, often used for system login.
* **Phone**: A contact number for the employee.
* **Employee Number**: A unique internal ID for the person in the system.
Define the employee's position and access level.
* **Role**: Their job role or type of access in the app.
* **Status**: Whether they are active or not (e.g., still with the company).
* **Address**: Detailed location information if used (Building, street, city, etc.).
Once all details are filled, click the **Save** button. The employee will now appear in your list and can be assigned to projects.
***
## **Detailed Field Guide**
### **1. Professional Profile**
| Field | Meaning in simple words | Requirement |
| :------------------ | :------------------------------------------- | :---------- |
| **Name** | Full name of the individual. | Required |
| **Email** | Their email (often used to log in). | Required |
| **Employee Number** | A unique ID for that person in the system. | Required |
| **Phone** | Primary contact number. | Optional |
| **Role** | Their job role or type of access in the app. | Required |
| **Status** | Active or Inactive status. | Required |
### **2. Advanced Information**
The application also stores additional attributes to help manage your workforce:
| Field | Description |
| :------------------- | :----------------------------------------------- |
| **Competencies** | Tracking specific skills and proficiency levels. |
| **Permissions** | Defining security/access rights within the app. |
| **Association Type** | Employment type (e.g., Permanent, Contract). |
***
## **Importing Employees in Bulk**
For large-scale onboarding, you can add many employees at once by uploading a data file. This process allows you to populate your entire staff list efficiently.
### **1. The Bulk Import Workflow**
Follow these steps to successfully import your employee data:
Ensure your data is organized in a supported format (like CSV). Include mandatory headers like Name, Email, and Employee Number.
Click the **Import** button on the Employees page and select your file to process the records.
You can also **export** the list (e.g., as a CSV) if you need to use the data outside the application.
***
## **Where do Employees show up?**
Employees are integrated throughout the BillSpree ecosystem to streamline operations:
* **Projects (Workspree)**: Assigning team members to specific projects and tasks.
* **Connections**: Linking employees to specific services or accounts where relevant.
Whether you see buttons like "New", "Import", or "Export" depends on your specific permissions in the app.